DIY toy blocks

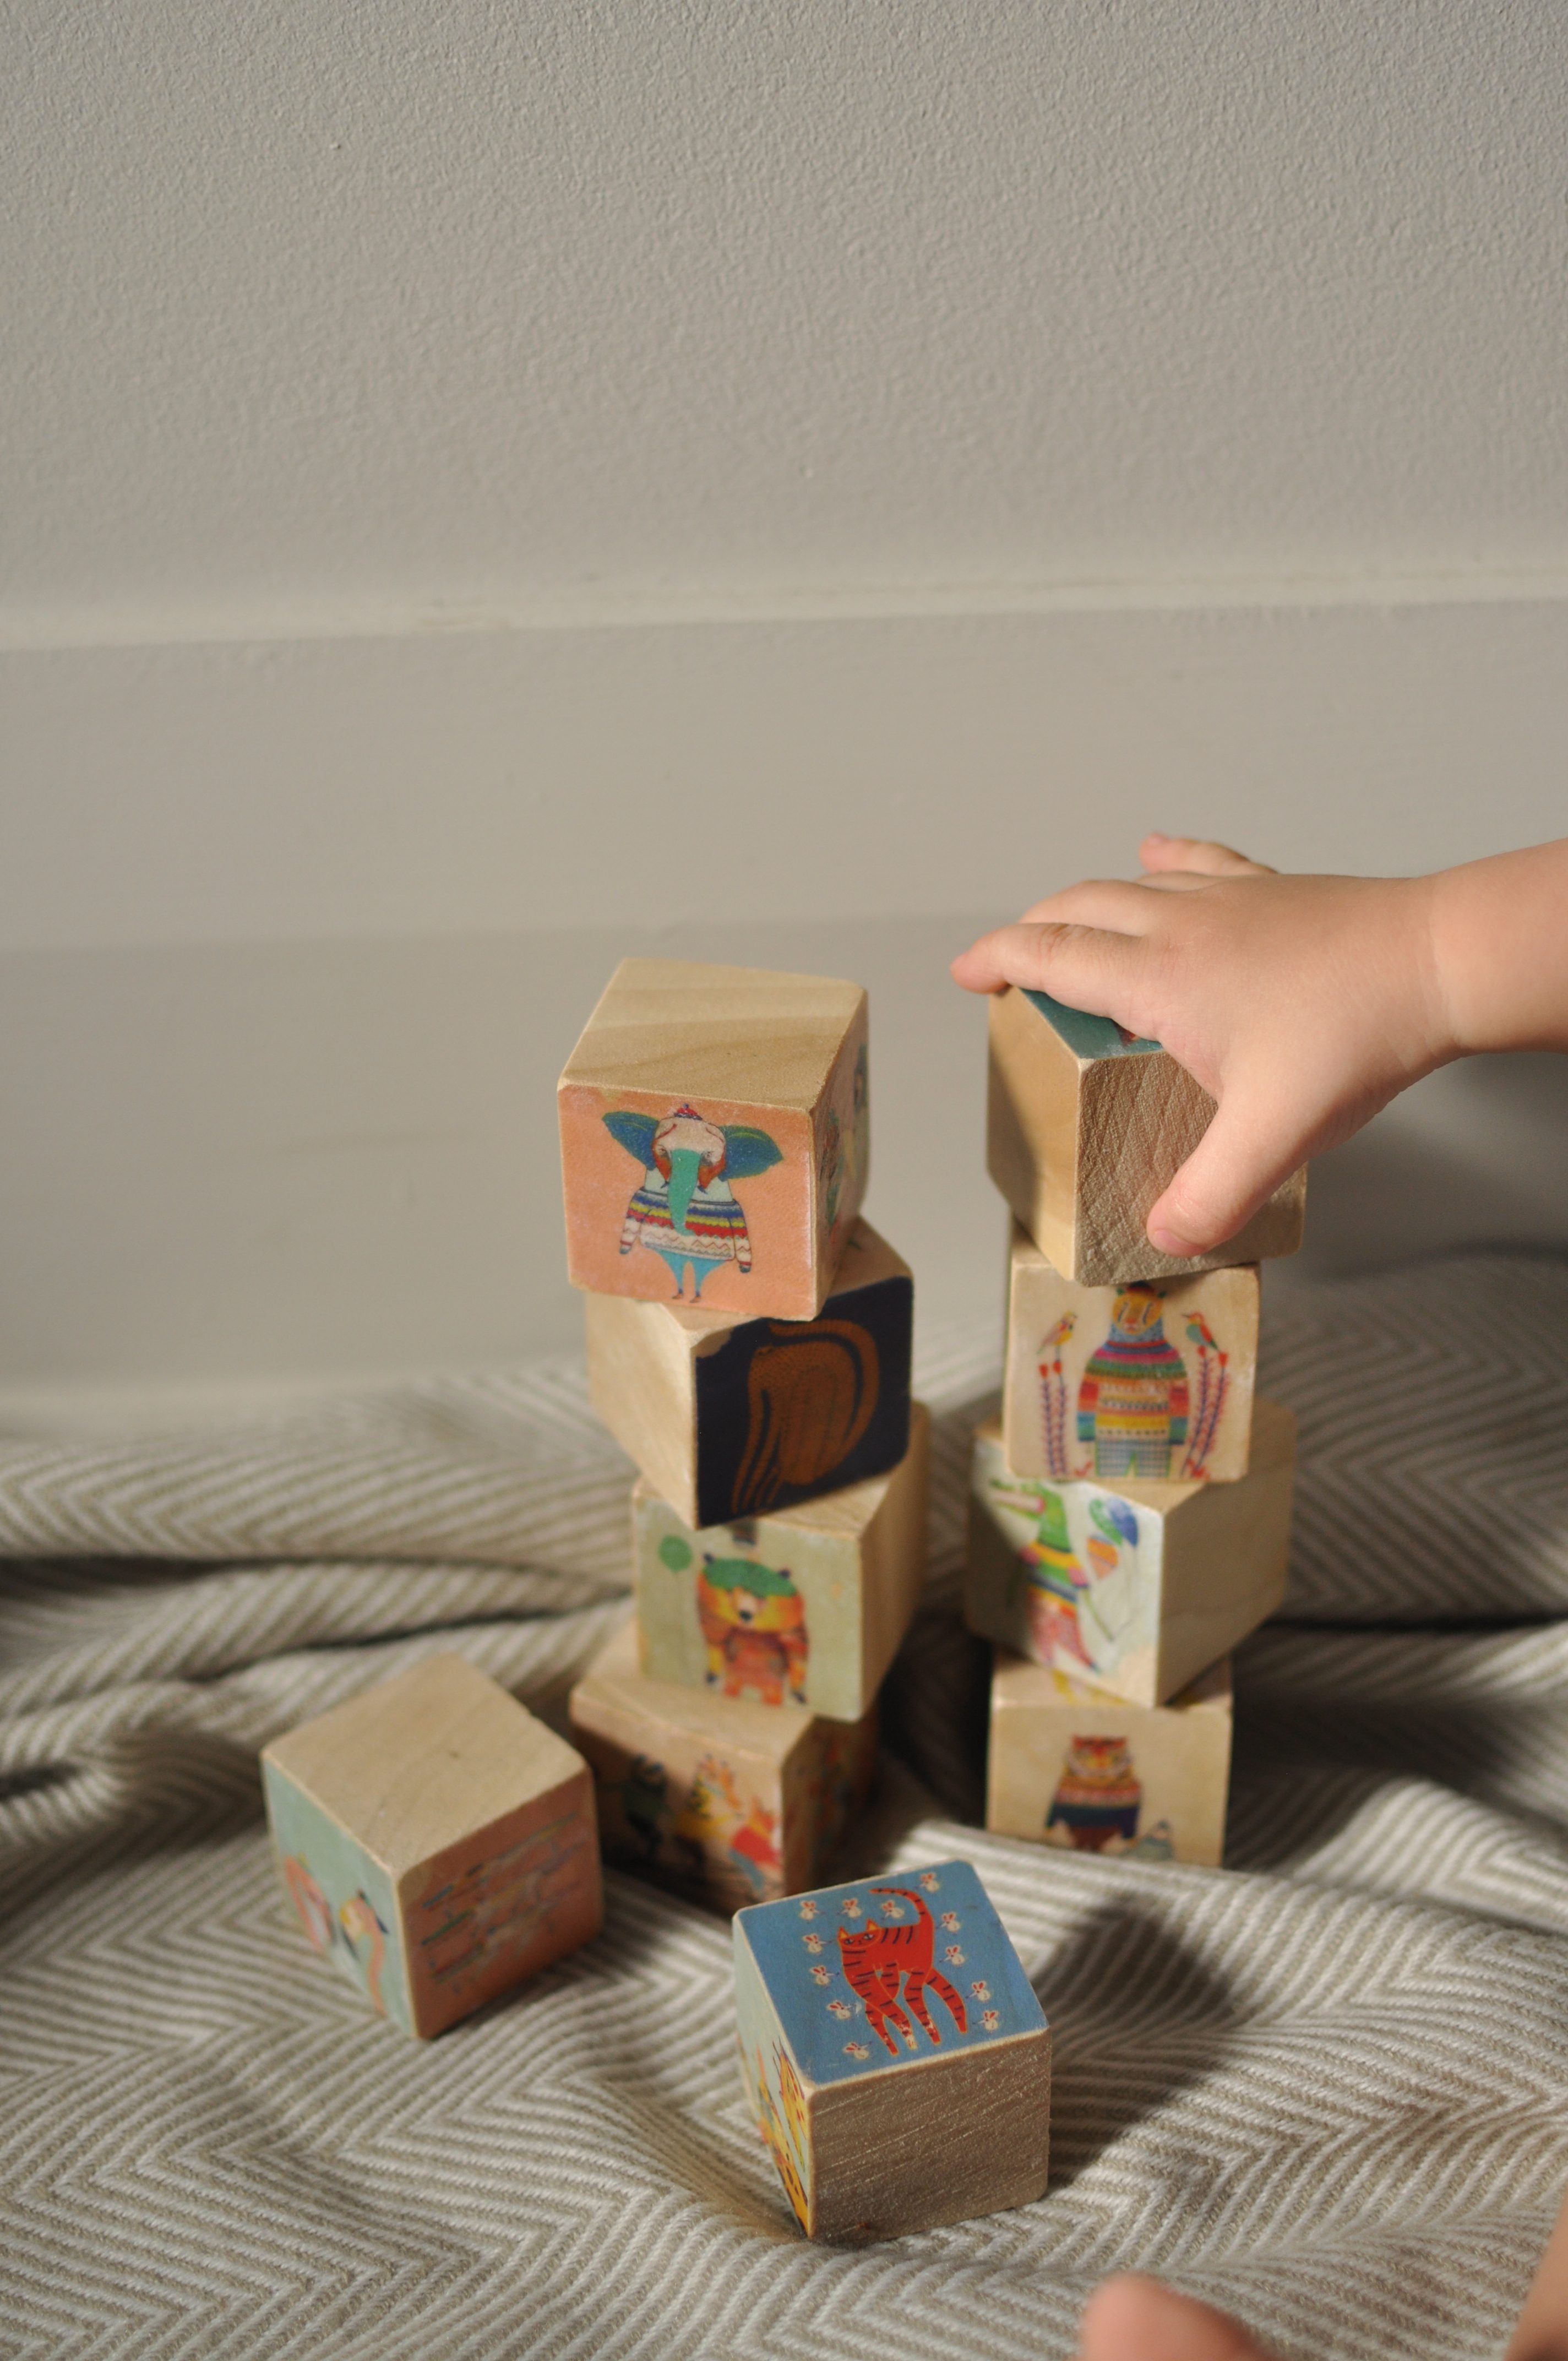
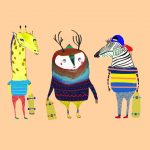
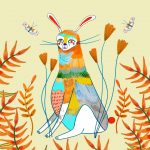
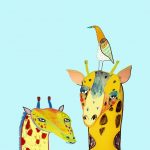
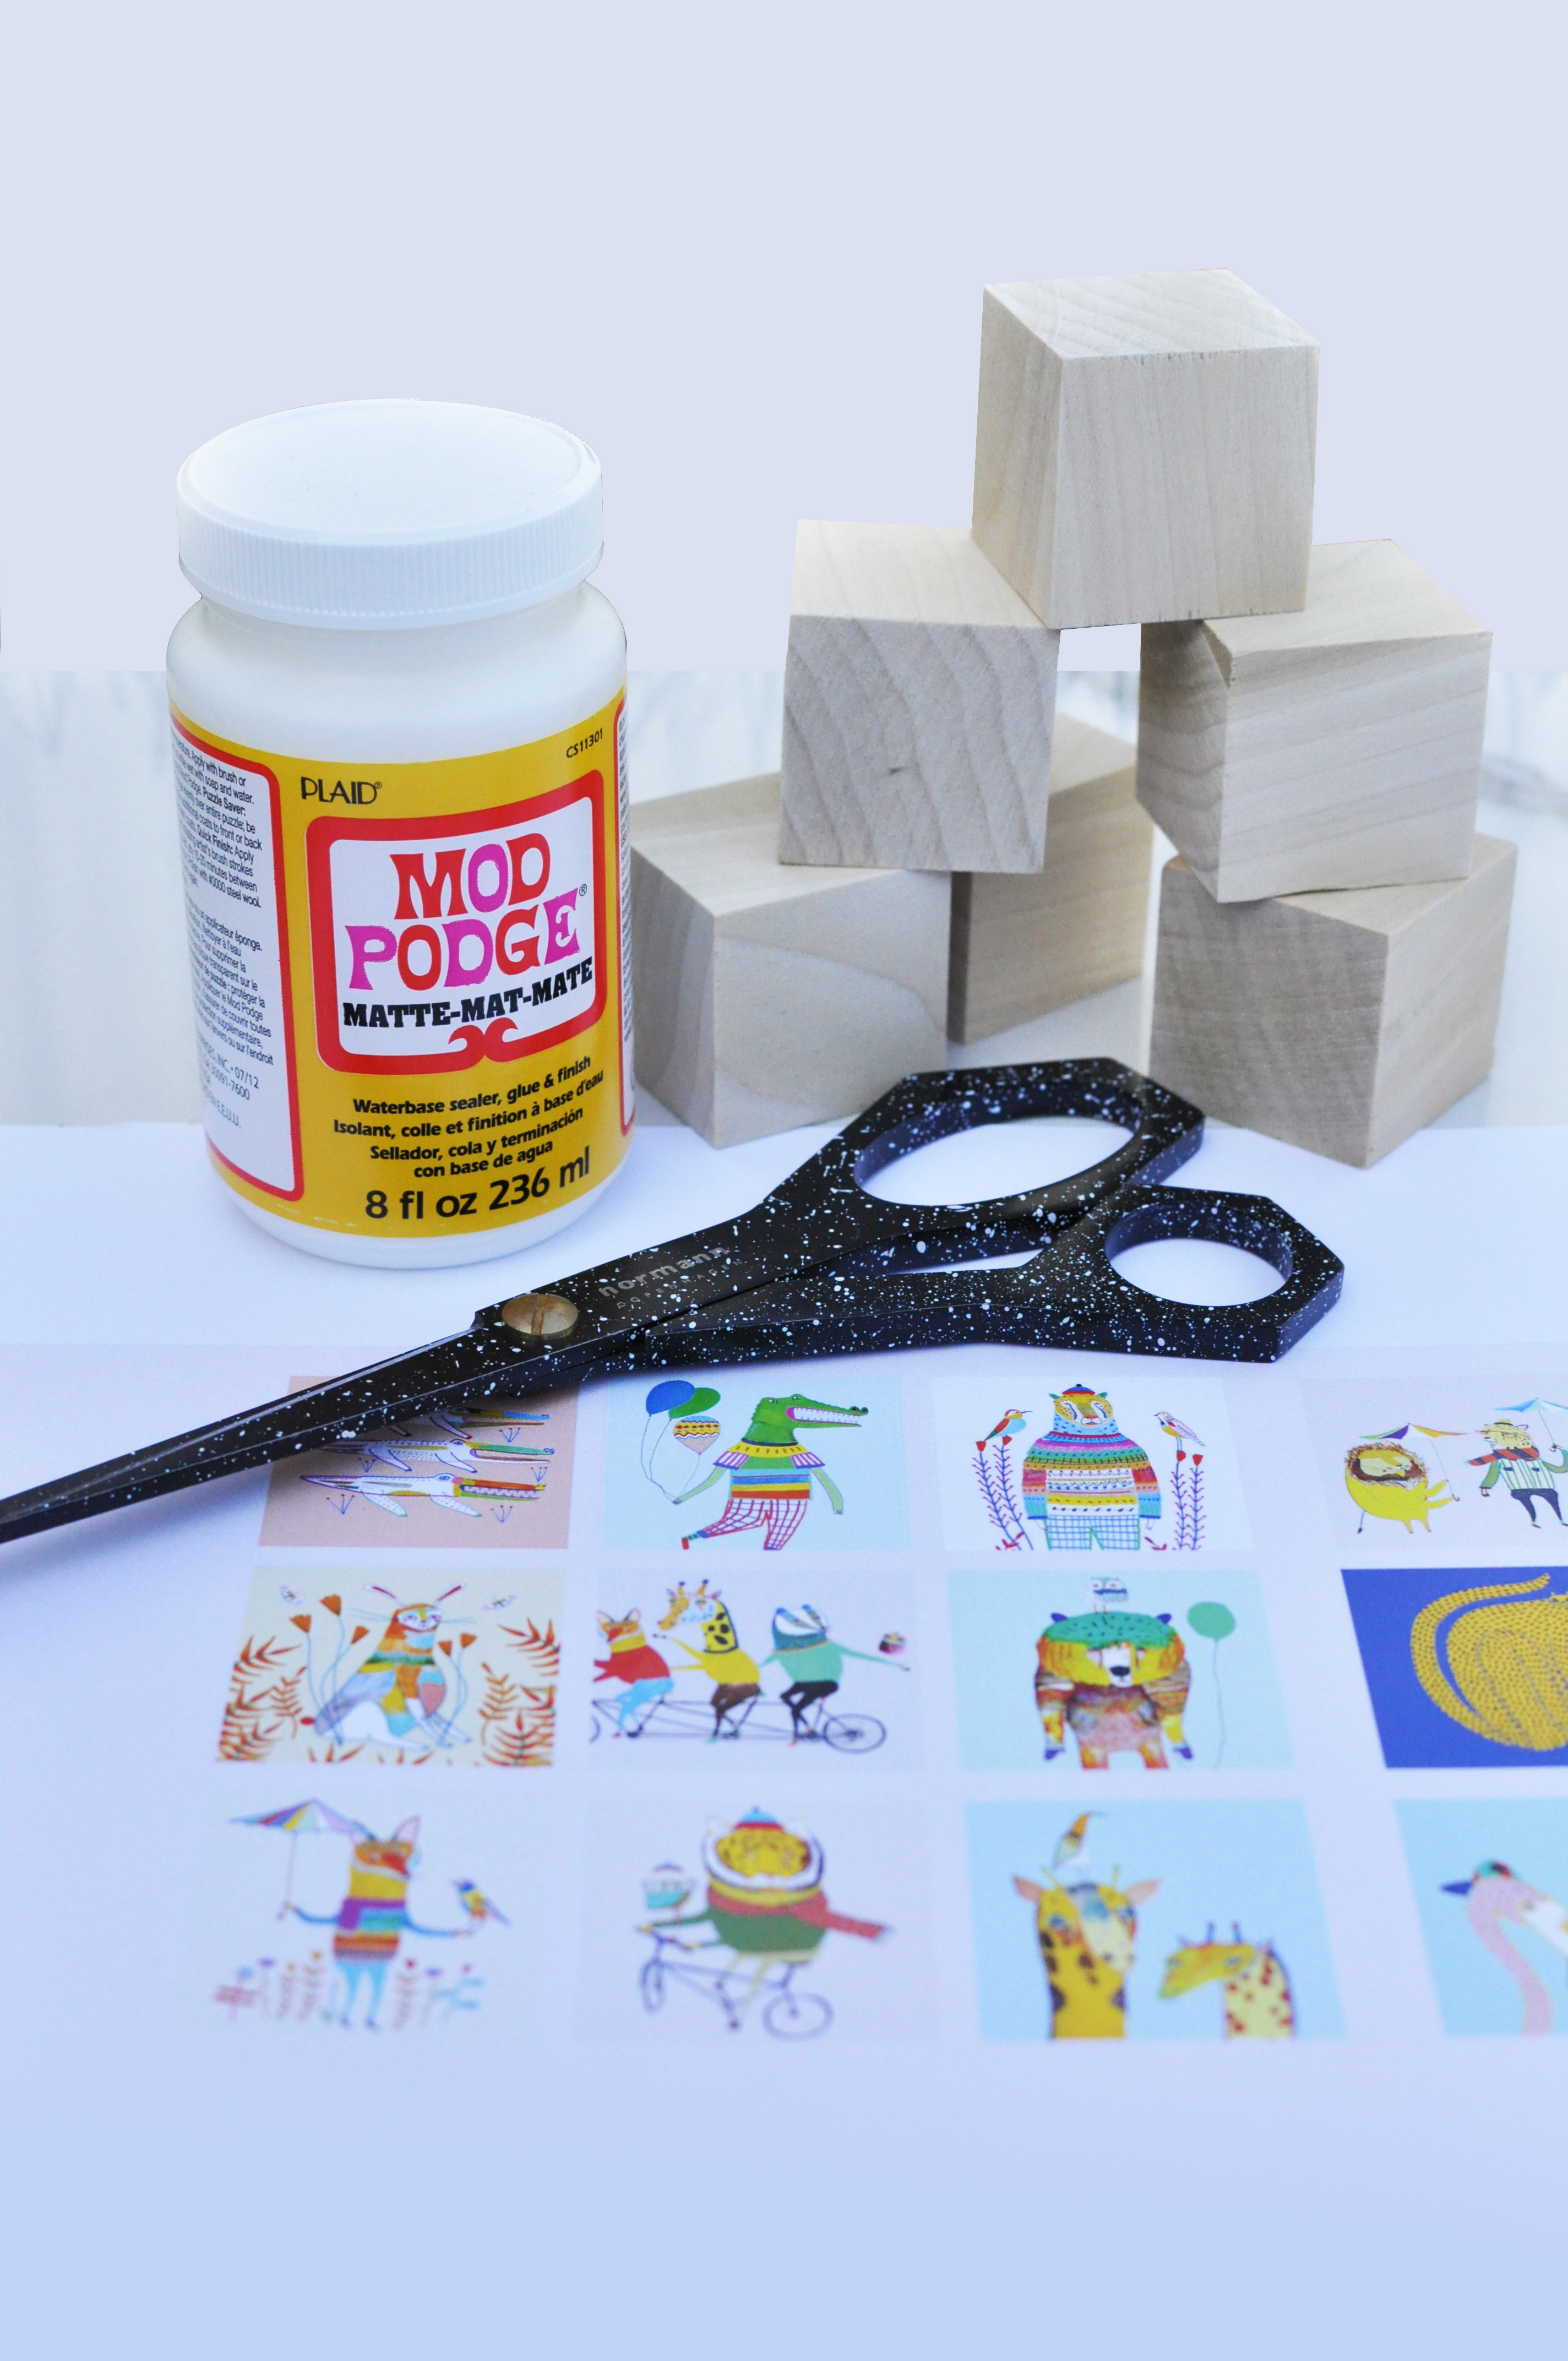
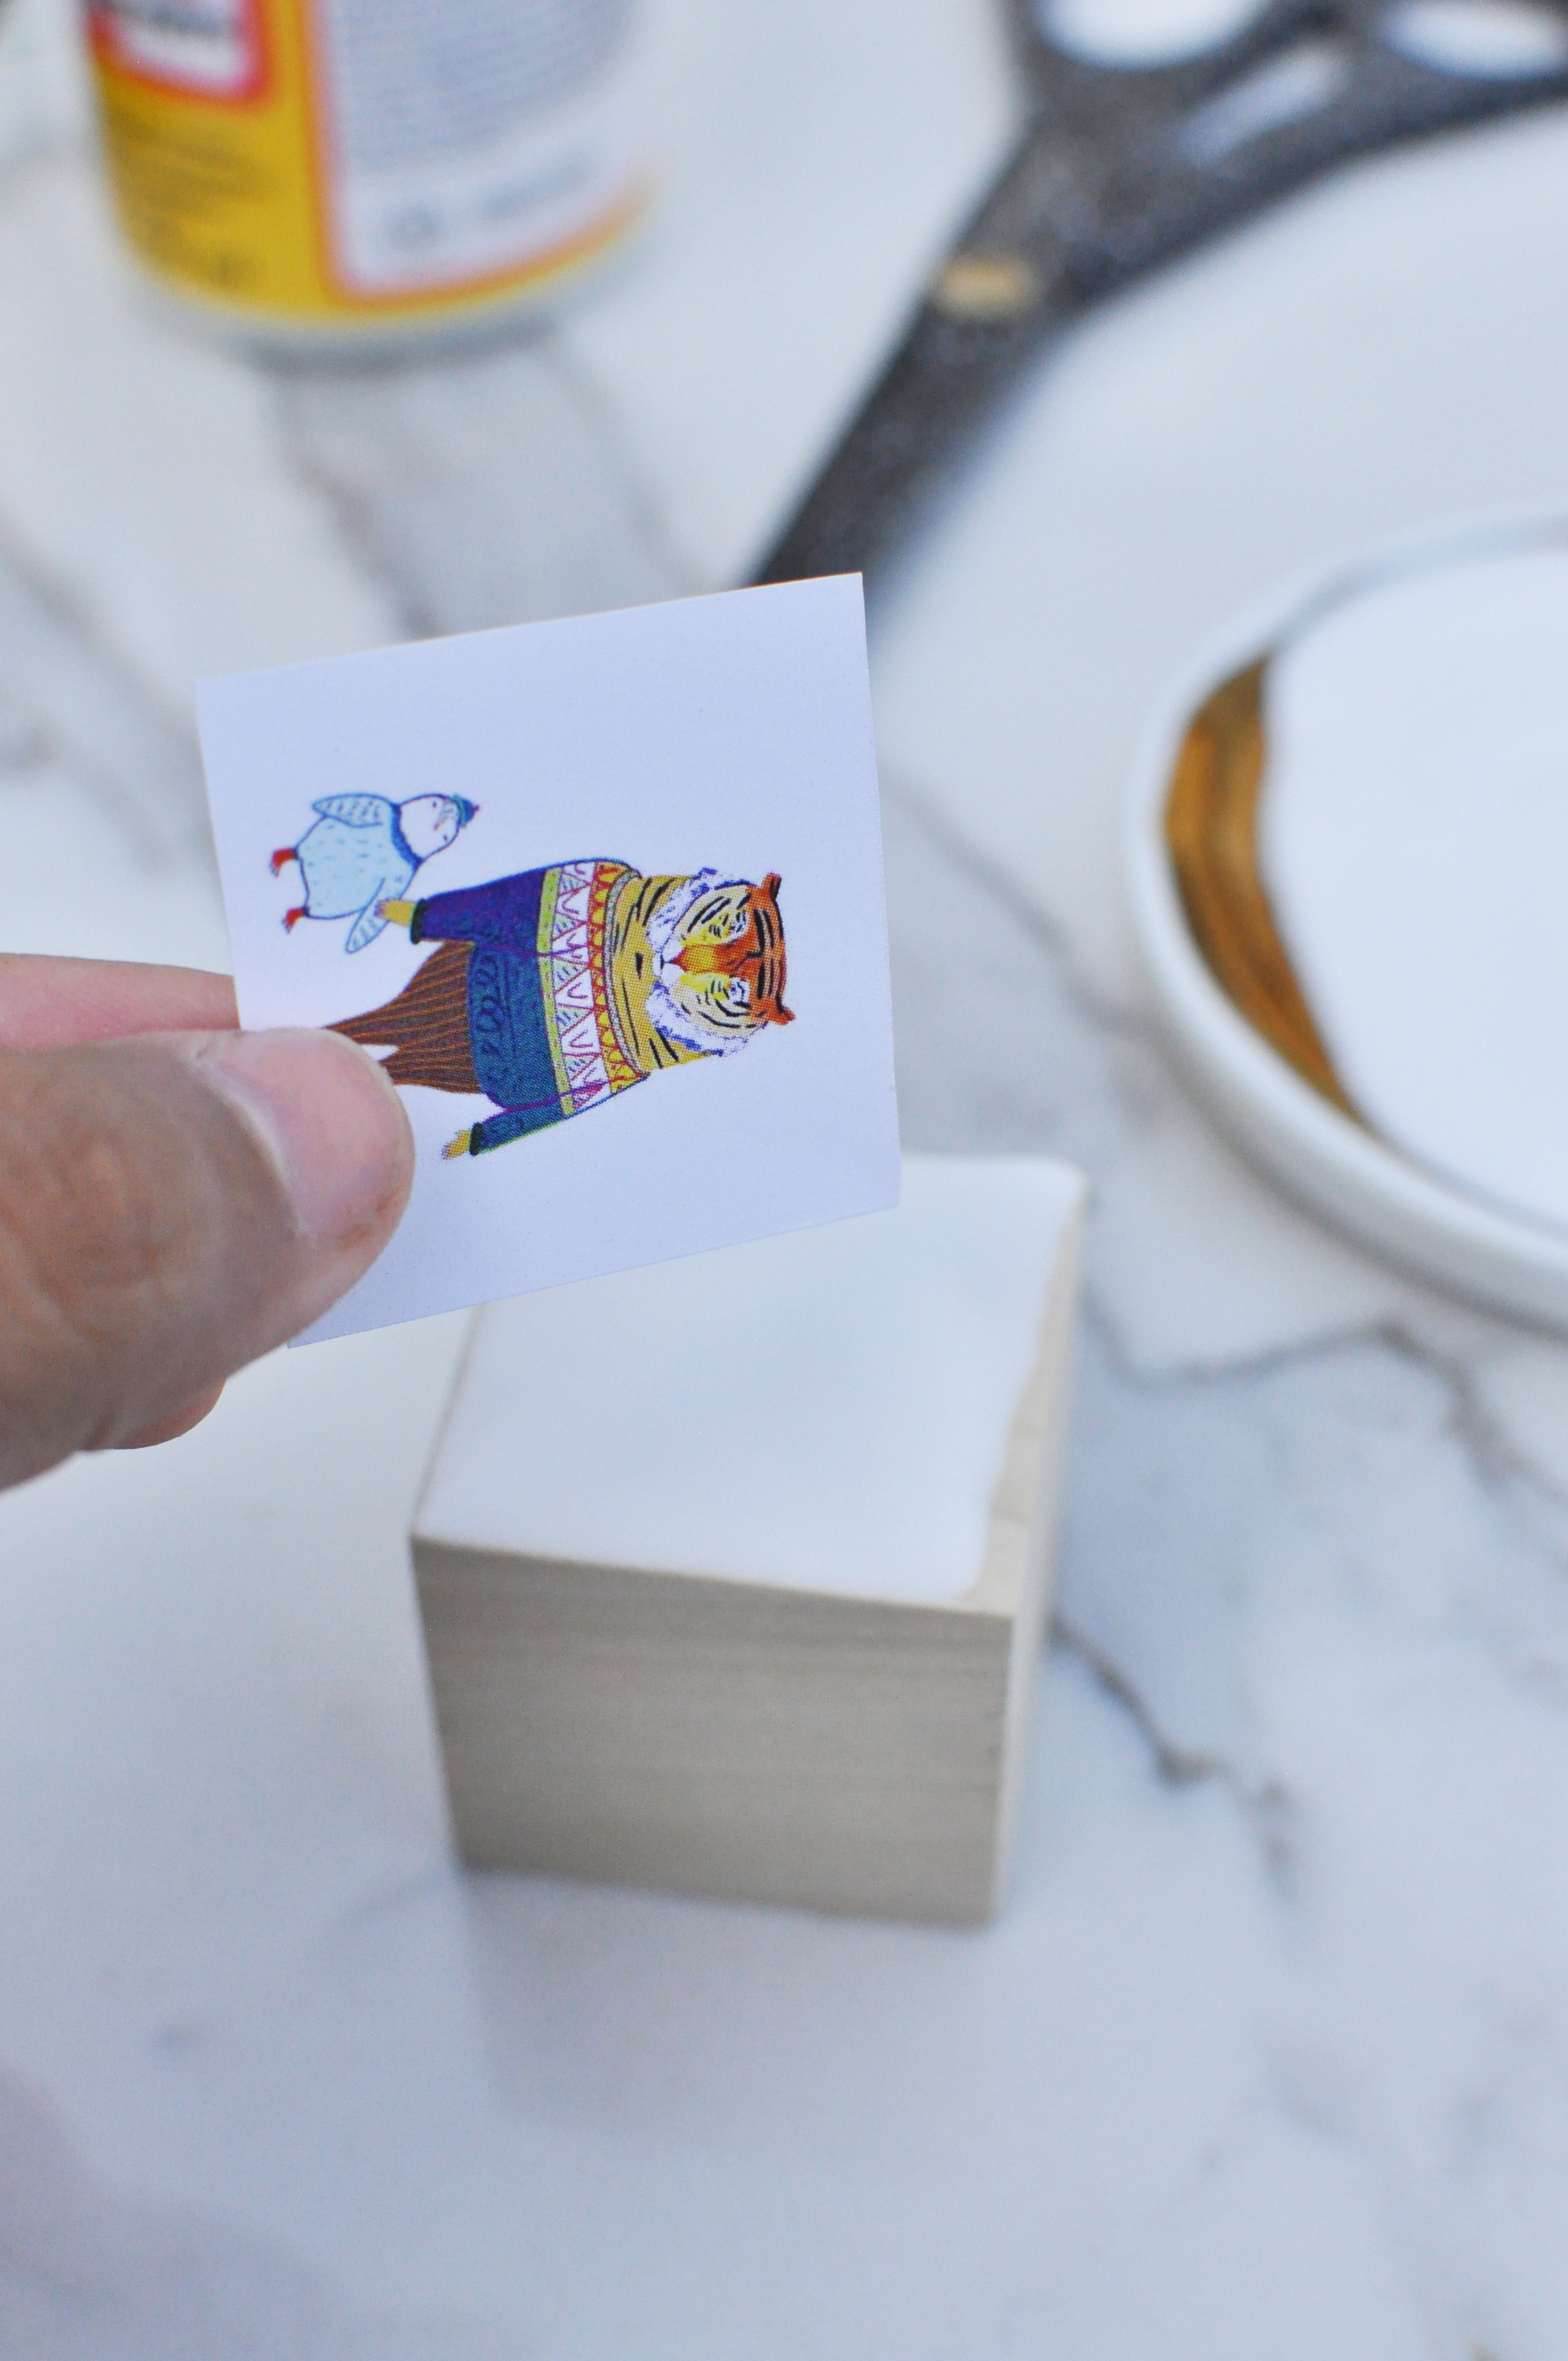
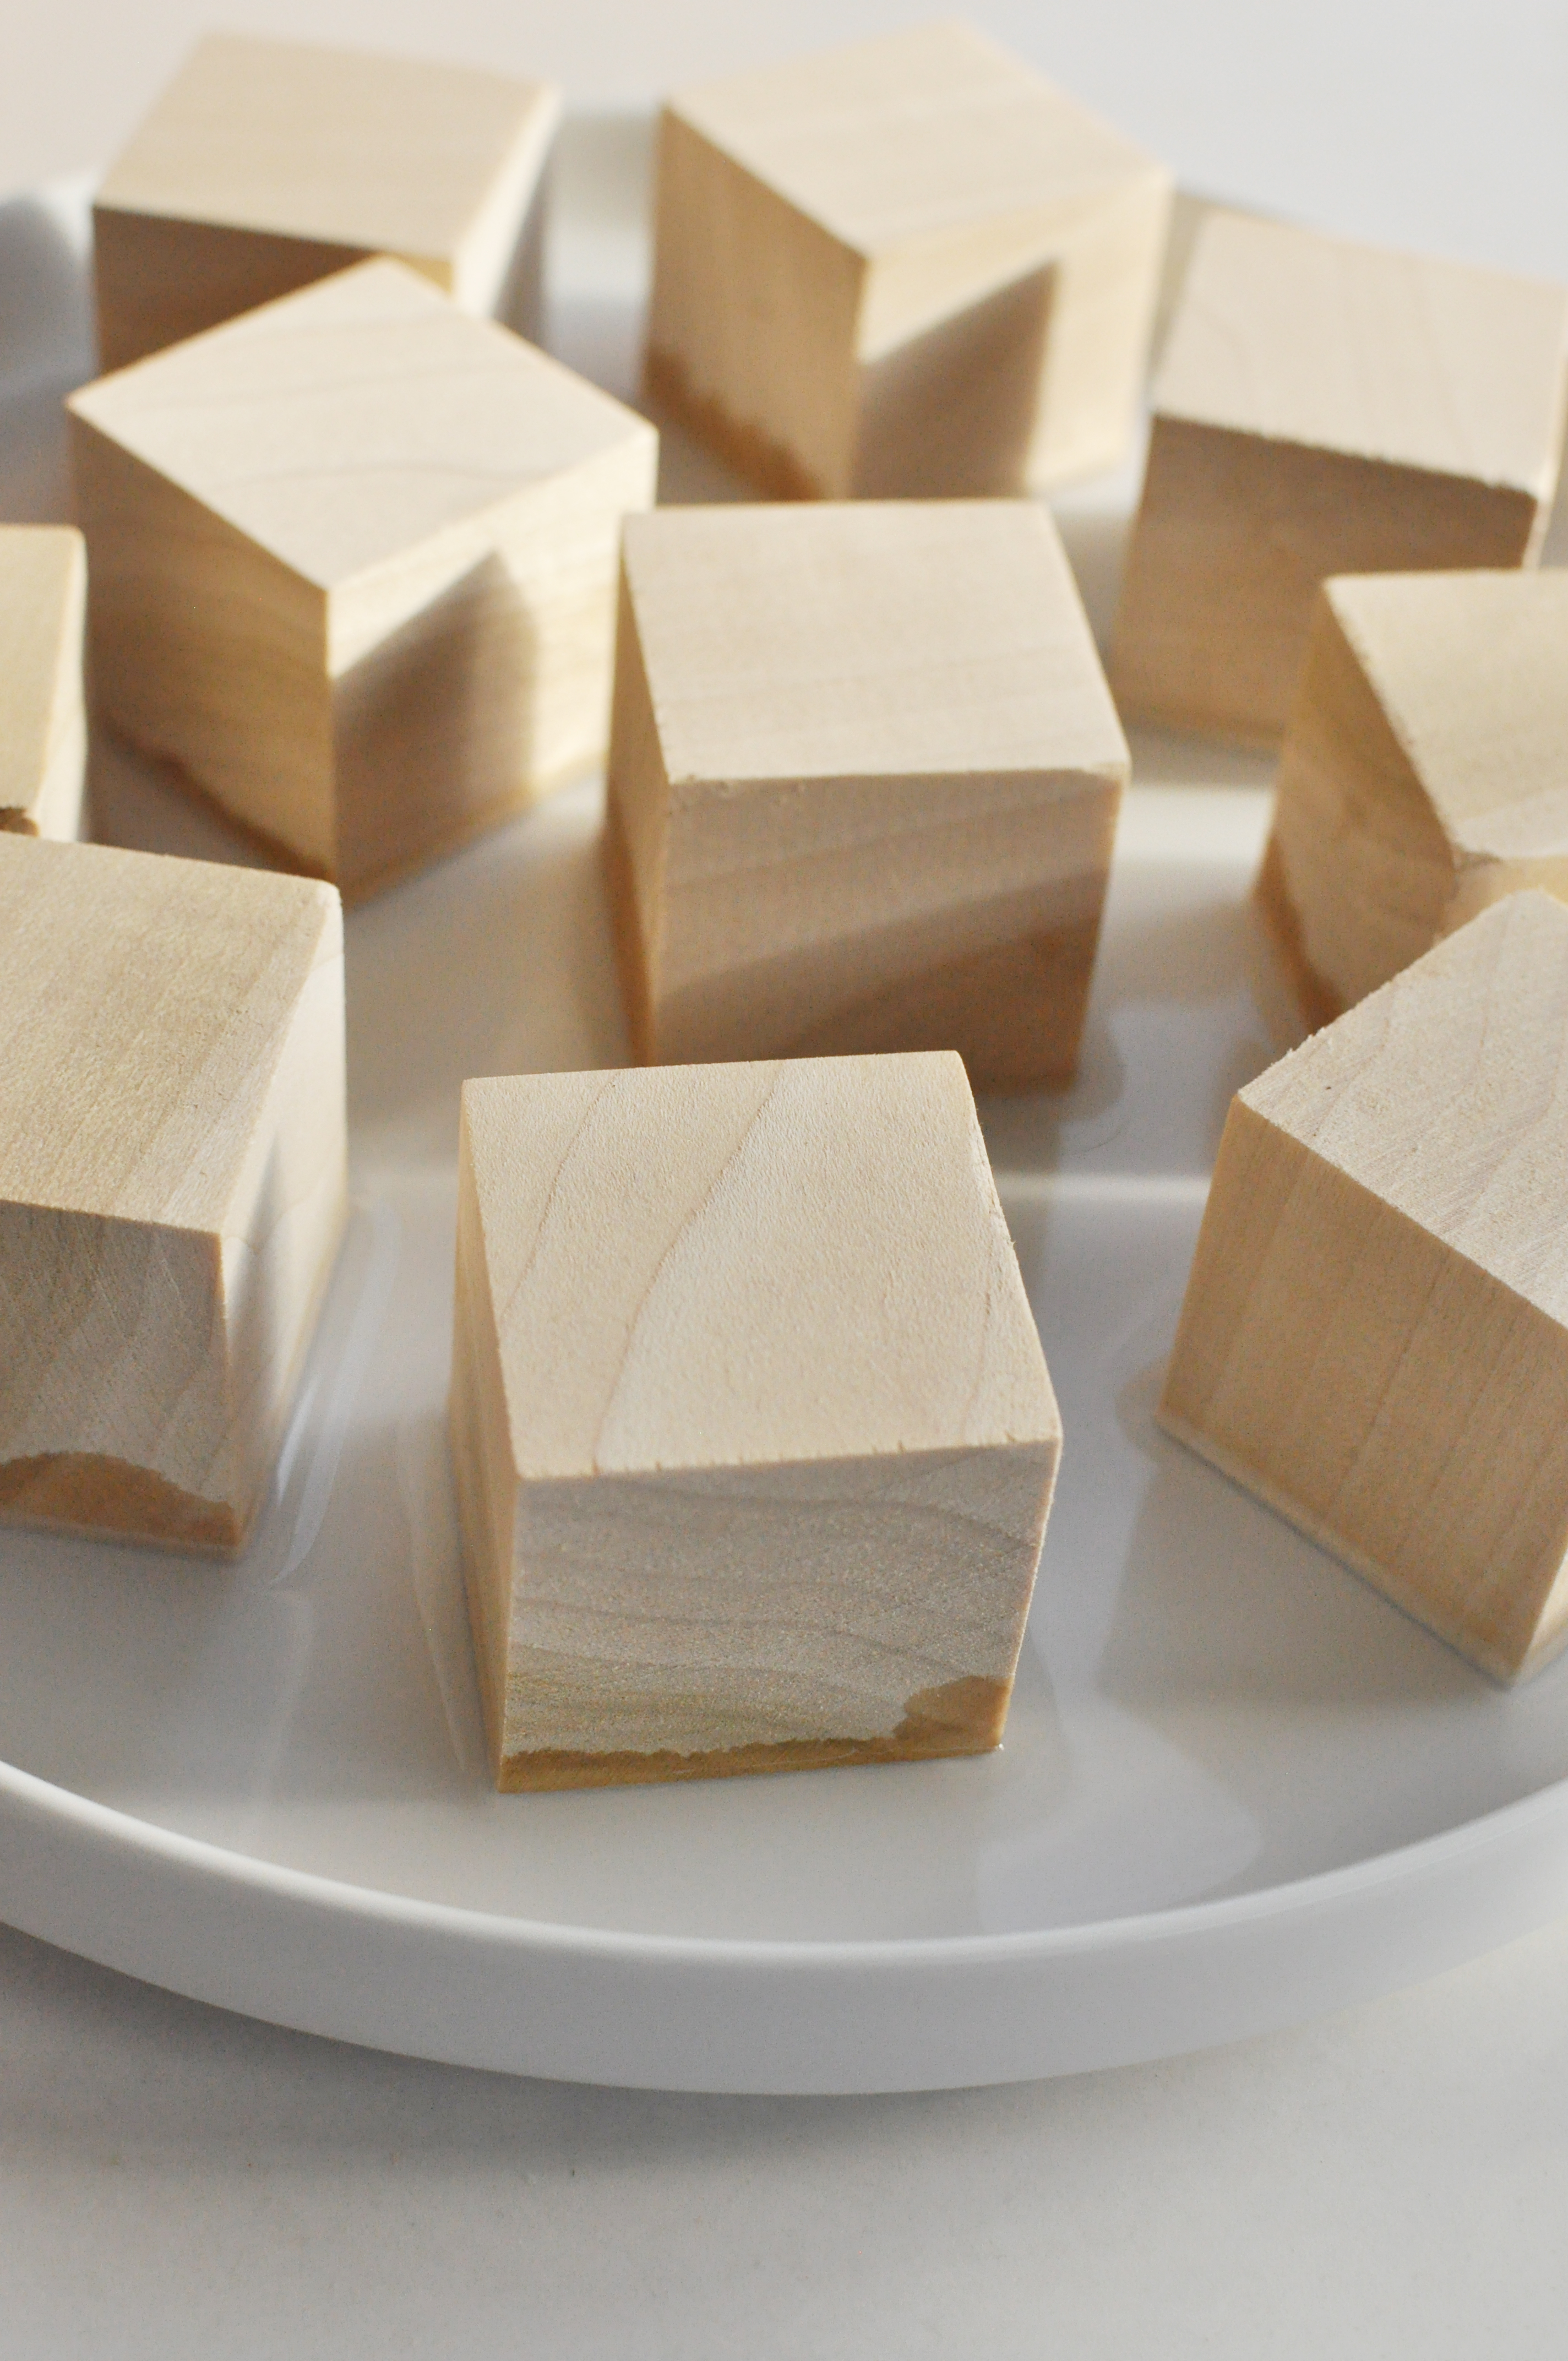
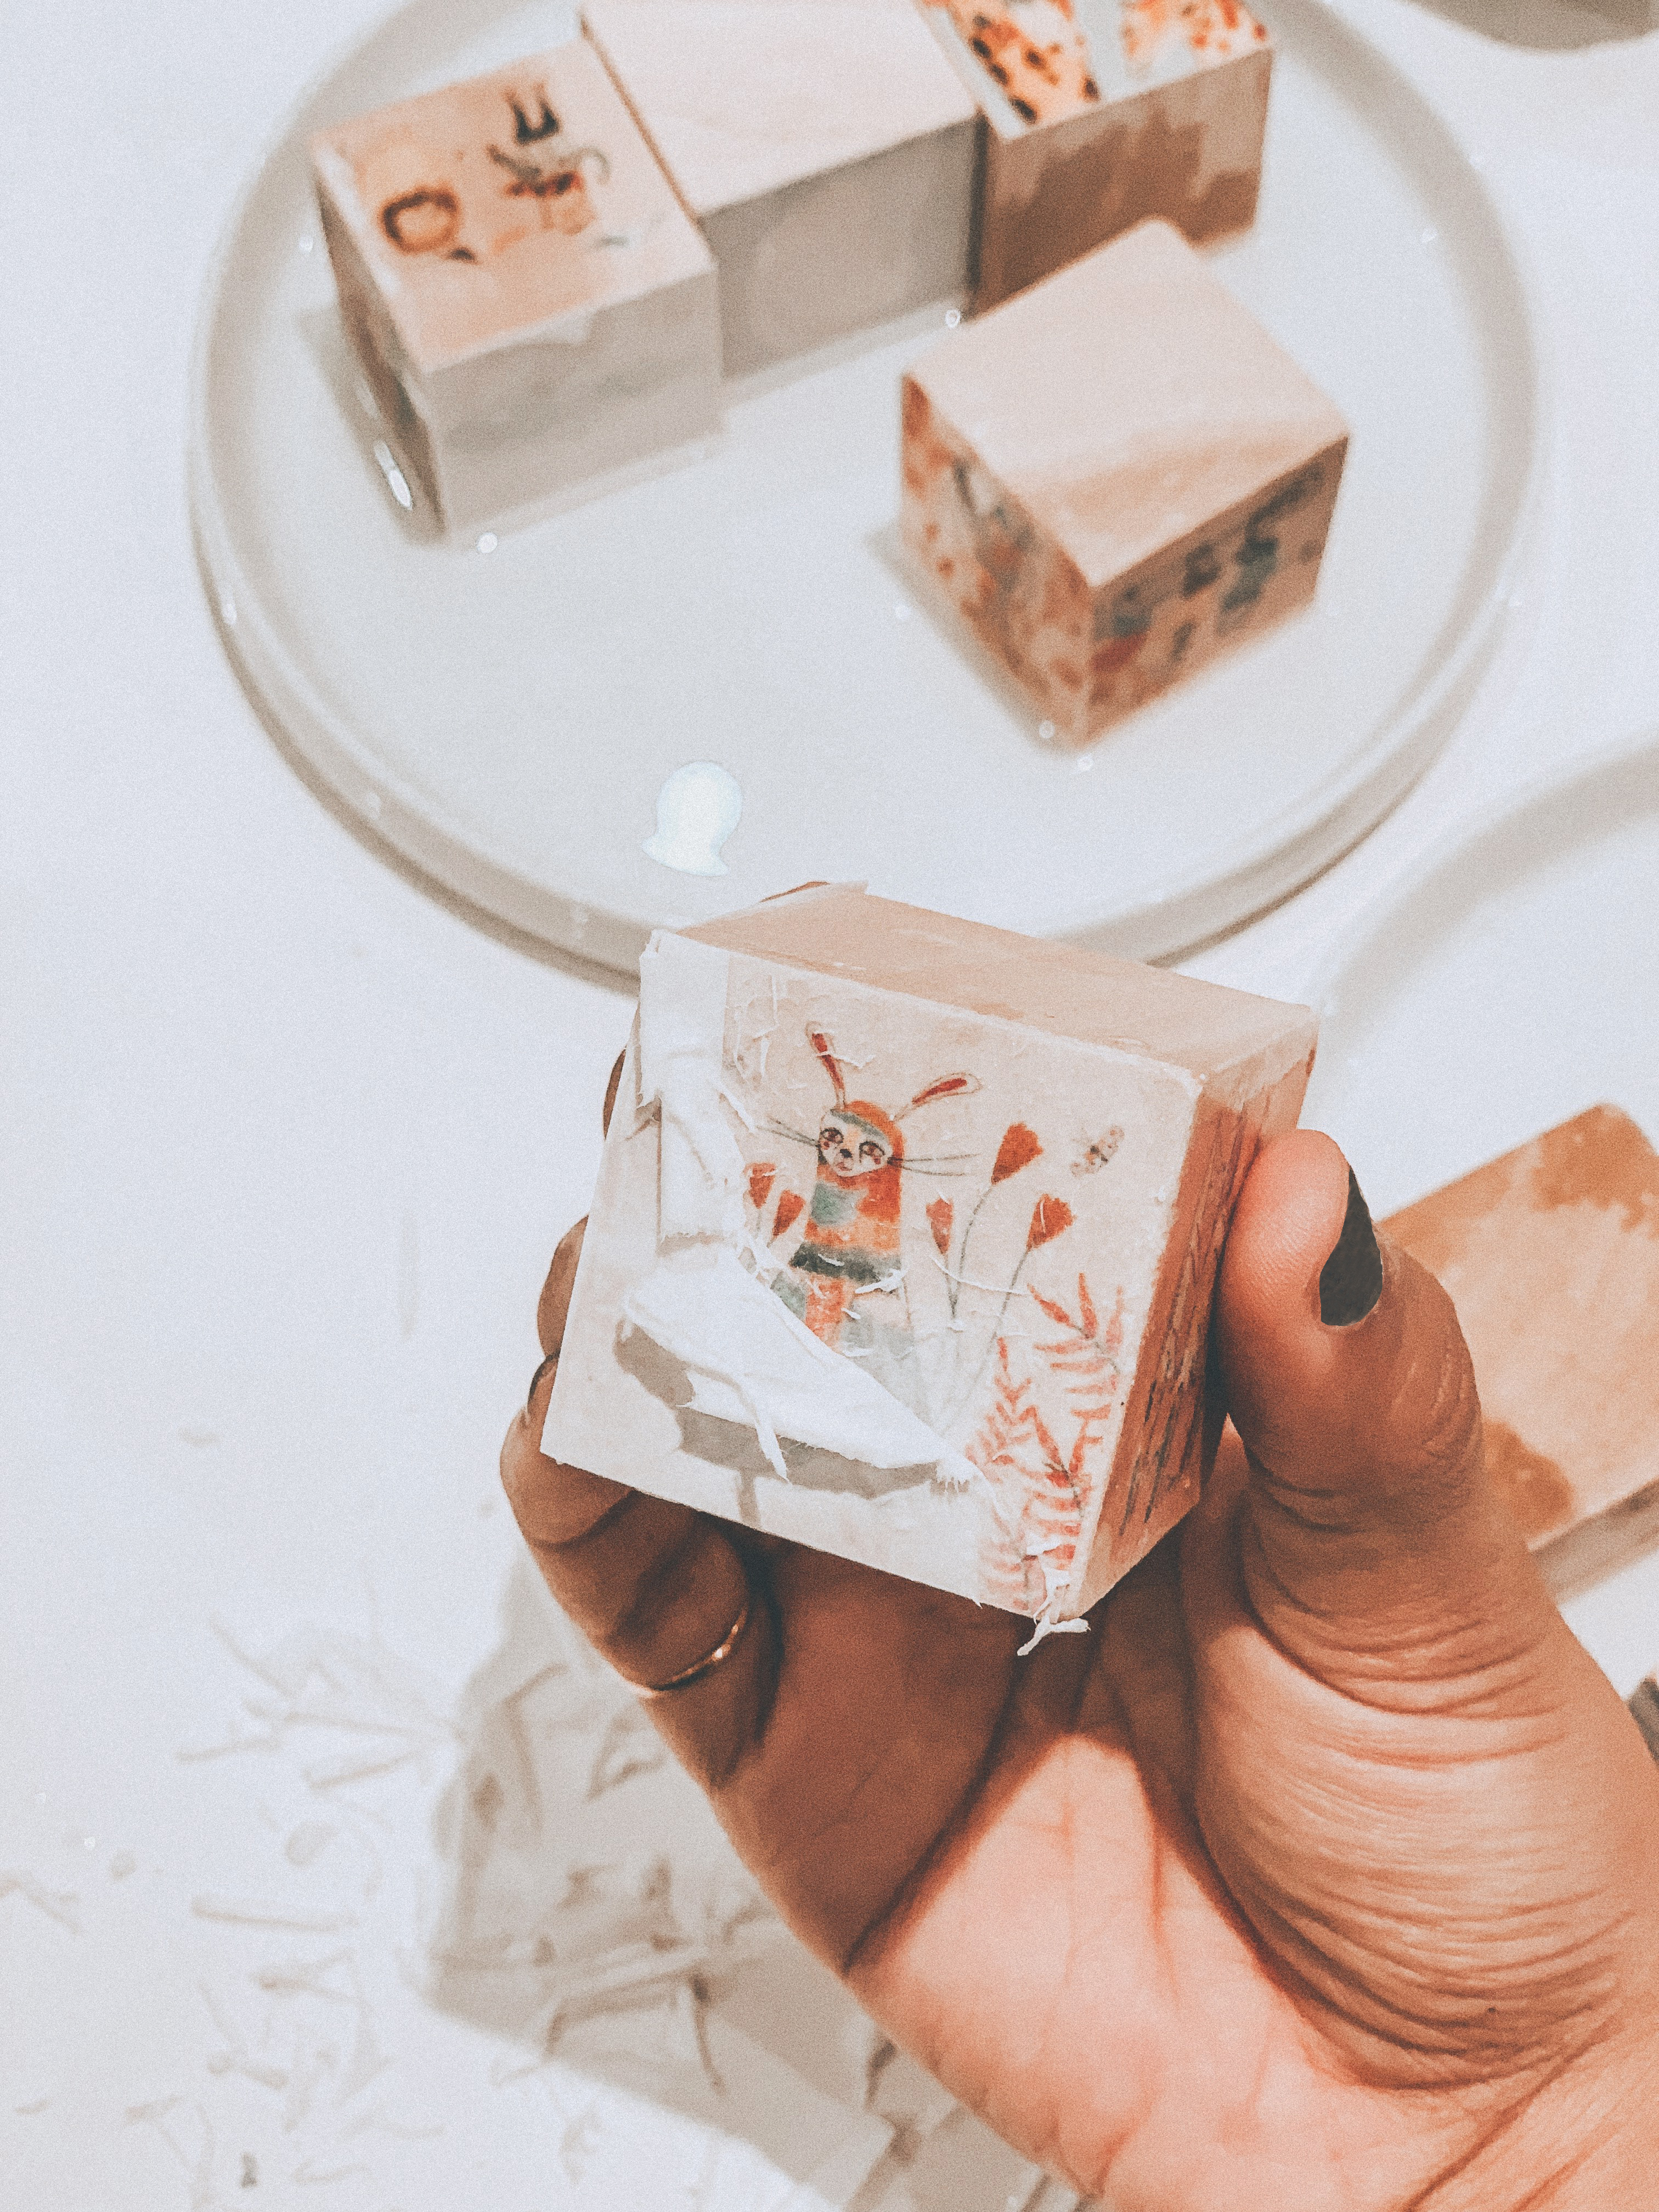
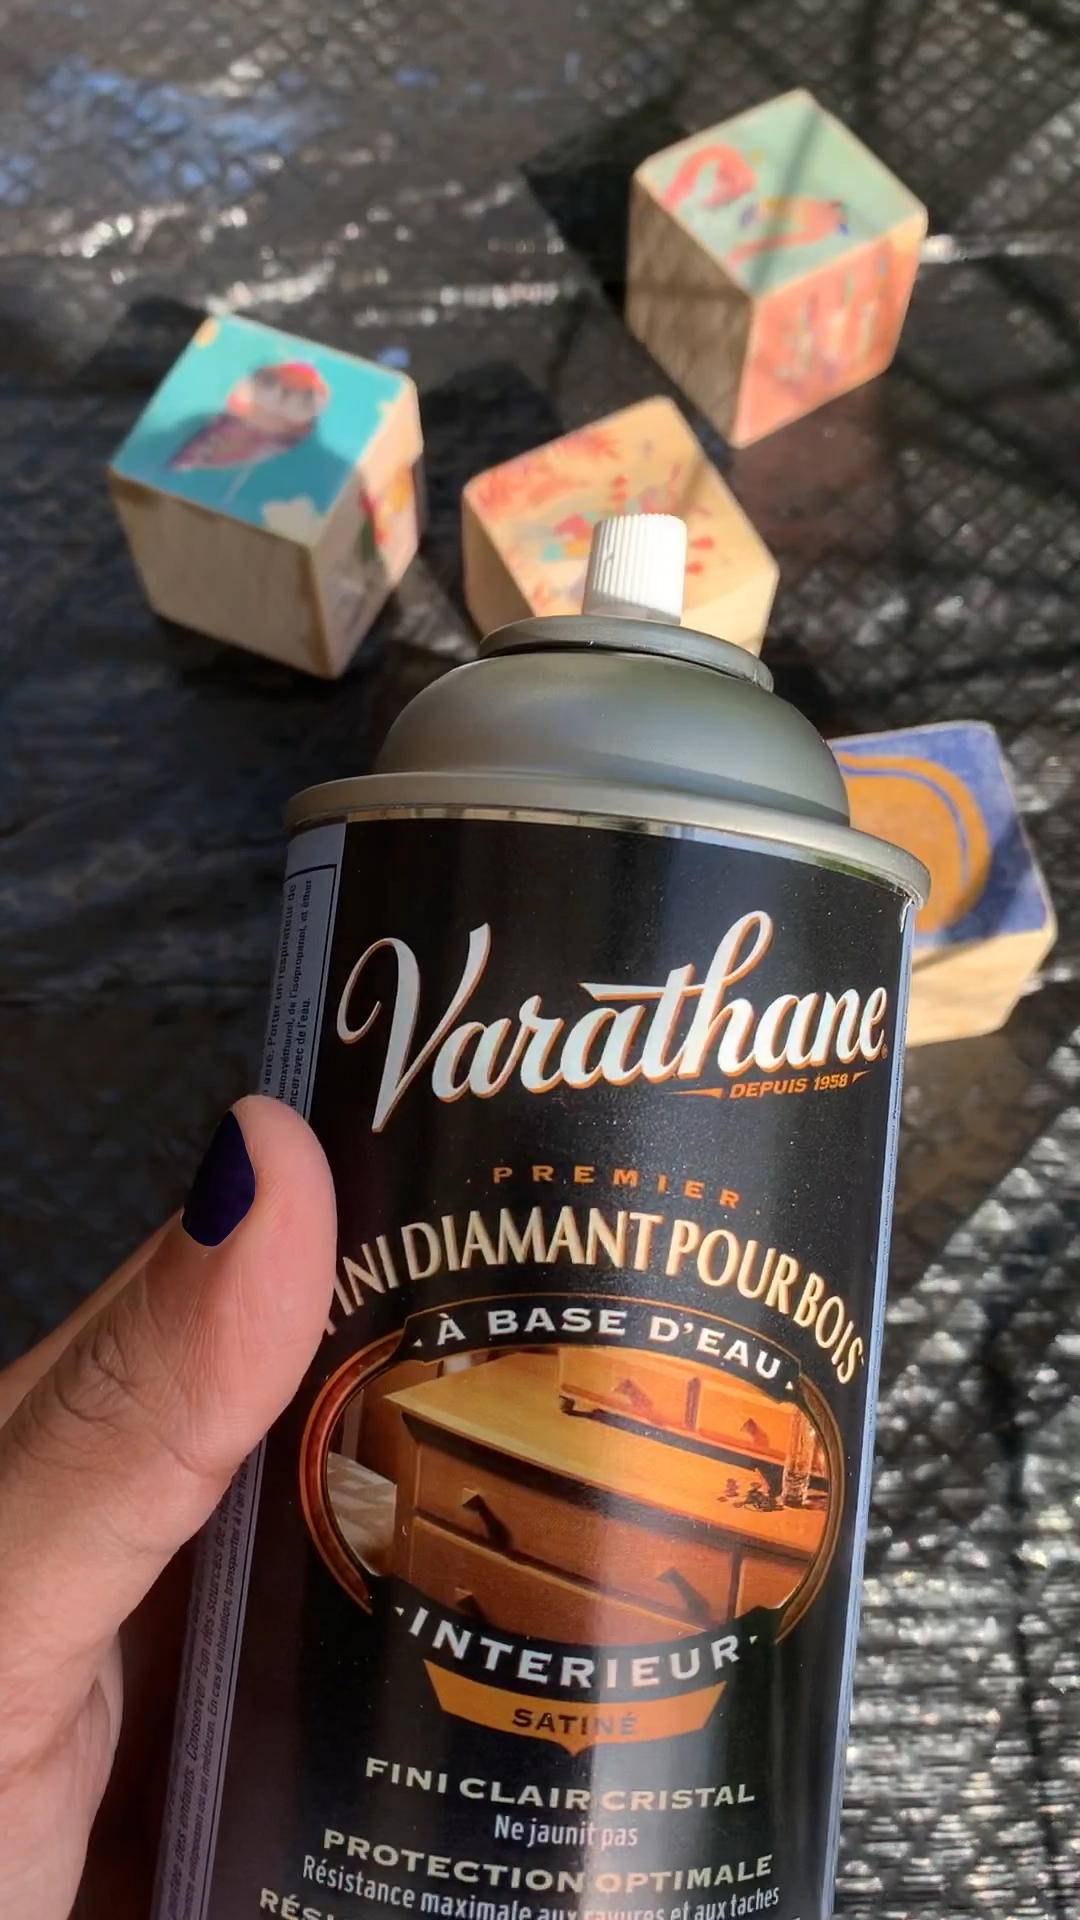
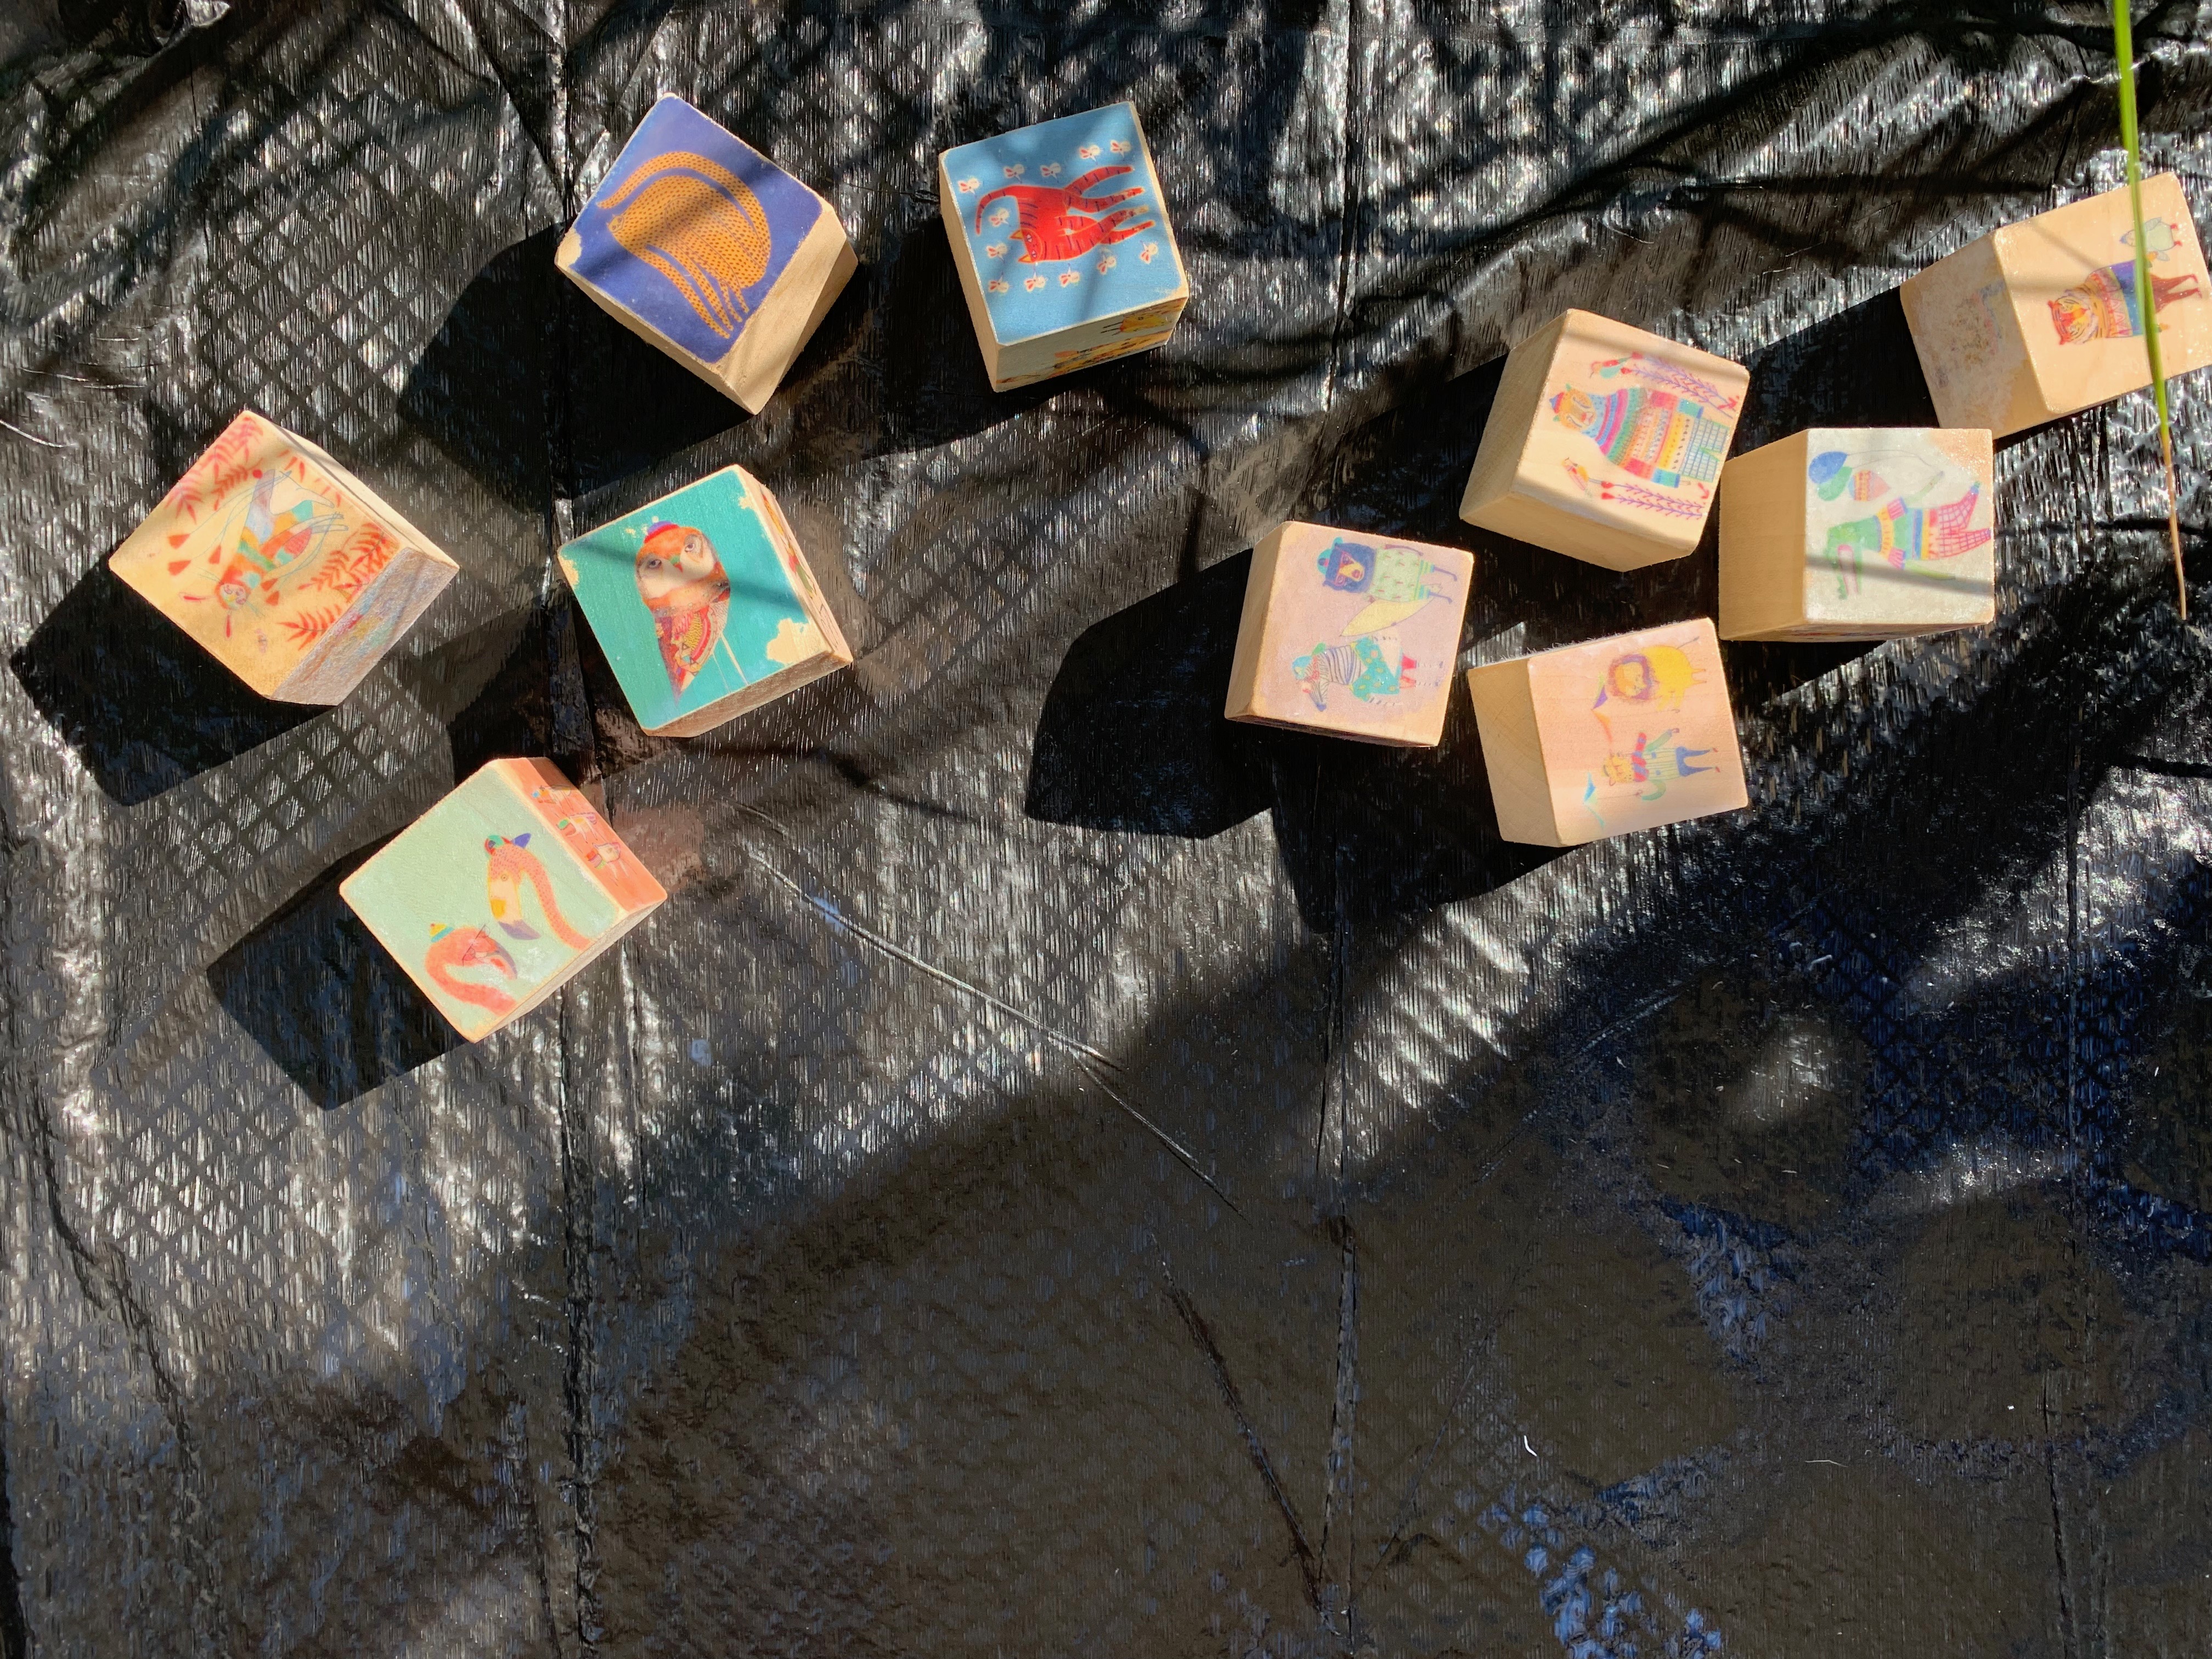
Transferring a photo onto wood is one of my favourite crafting techniques and thought it was a perfect chance to do again since I wanted to create toy blocks for Heston. The timing couldn’t have been better. He’s all about stacking, crashing and gnawing on things. Knowing you can transfer any image from paper to another surface is fun and really easy to do.

Before you start printing your image, know that you cannot print from your home ink jet printer (the ink will smear). You need to use a photocopied image. I got mine printed from a print shop.

Now let me tell you about the the Illustrator I used. Ashley Percival is an incredible artist and I adore his work. It’s so playful. Once I received permission to use his work, I jumped right in. You can find his work HERE and HERE.

Supplies:

  • 1 1/2″ x 1 1/2″ wood blocks
  • Photocopied Image on Regular Copy Paper (make sure to invert your image before you print)
  • Mod Podge*
  • brush to apply glue (or if you’re like me, your finger)
  • Varathane Premium Diamond Wood Finish – satin (water based spray which is safe for toys)

*If you want the wood grain to show through, use regular Mod Podge Matte. If you want a white background with no wood grain showing through, use Mod Podge Photo Transfer Medium.

Process:

  1. Apply a generous amount of the transfer solution to the image. You will want a thick layer.
  2. Press the image, photo side down, onto the wood block. Rub firmly to smooth out the image and remove air bubbles. Let it dry completely (I let mine dry overnight).
  3. Pour a few mm of water on a plate and wet your paper (I let it soak for an hour or two). Begin rubbing gently to remove the paper and expose the transferred image below. I like to remove the top layer first, and slowly repeat the process as needed to remove the “fuzzies” that were left behind.

4. Once completely dry, apply a few coats of wood finish. If you’re creating this for kids, I highly recommend using a water base spray which is safe for kids. I chose a satin finish because I wanted a bit of shine, but prefer the matt look – it’s perfectly in between.

This was so fun to do. Heston is loving the blocks and I’m already planning to do more photo transfers.

Feel free to comment below if you have any questions or comments. Click HERE  to watch my time lapse on IGTV of the process. Make sure to tag me on Instagram if you do this DIY.
xoxo

Close Menu