DIY Water Table

The sun is out, the temperature is getting warmer, and kids want to play outside. Unfortunately it’s something we can’t do so easily these days. So what better way to keep your kid/s occupied by creating your own do-it-yourself water table.
 
We took a weekend to create and make this simple water table from easy light lumber and some simple under the bed totes.
Here are the links to the 2×2 wood HERE and 4×2 HERE and totes HERE but just remember that the measurement of the openings is based on these tote sizes. 

Materials:

  • 2×2″ wood – 4 pieces
  • 2×4″ wood – 1 piece
  • totes – 2 bins
  • Nails (3″ depth) – roughly 14+

The photo below shows overall dimensions of the table

* is the only piece of wood that is 4x2, the rest are all 2x2s
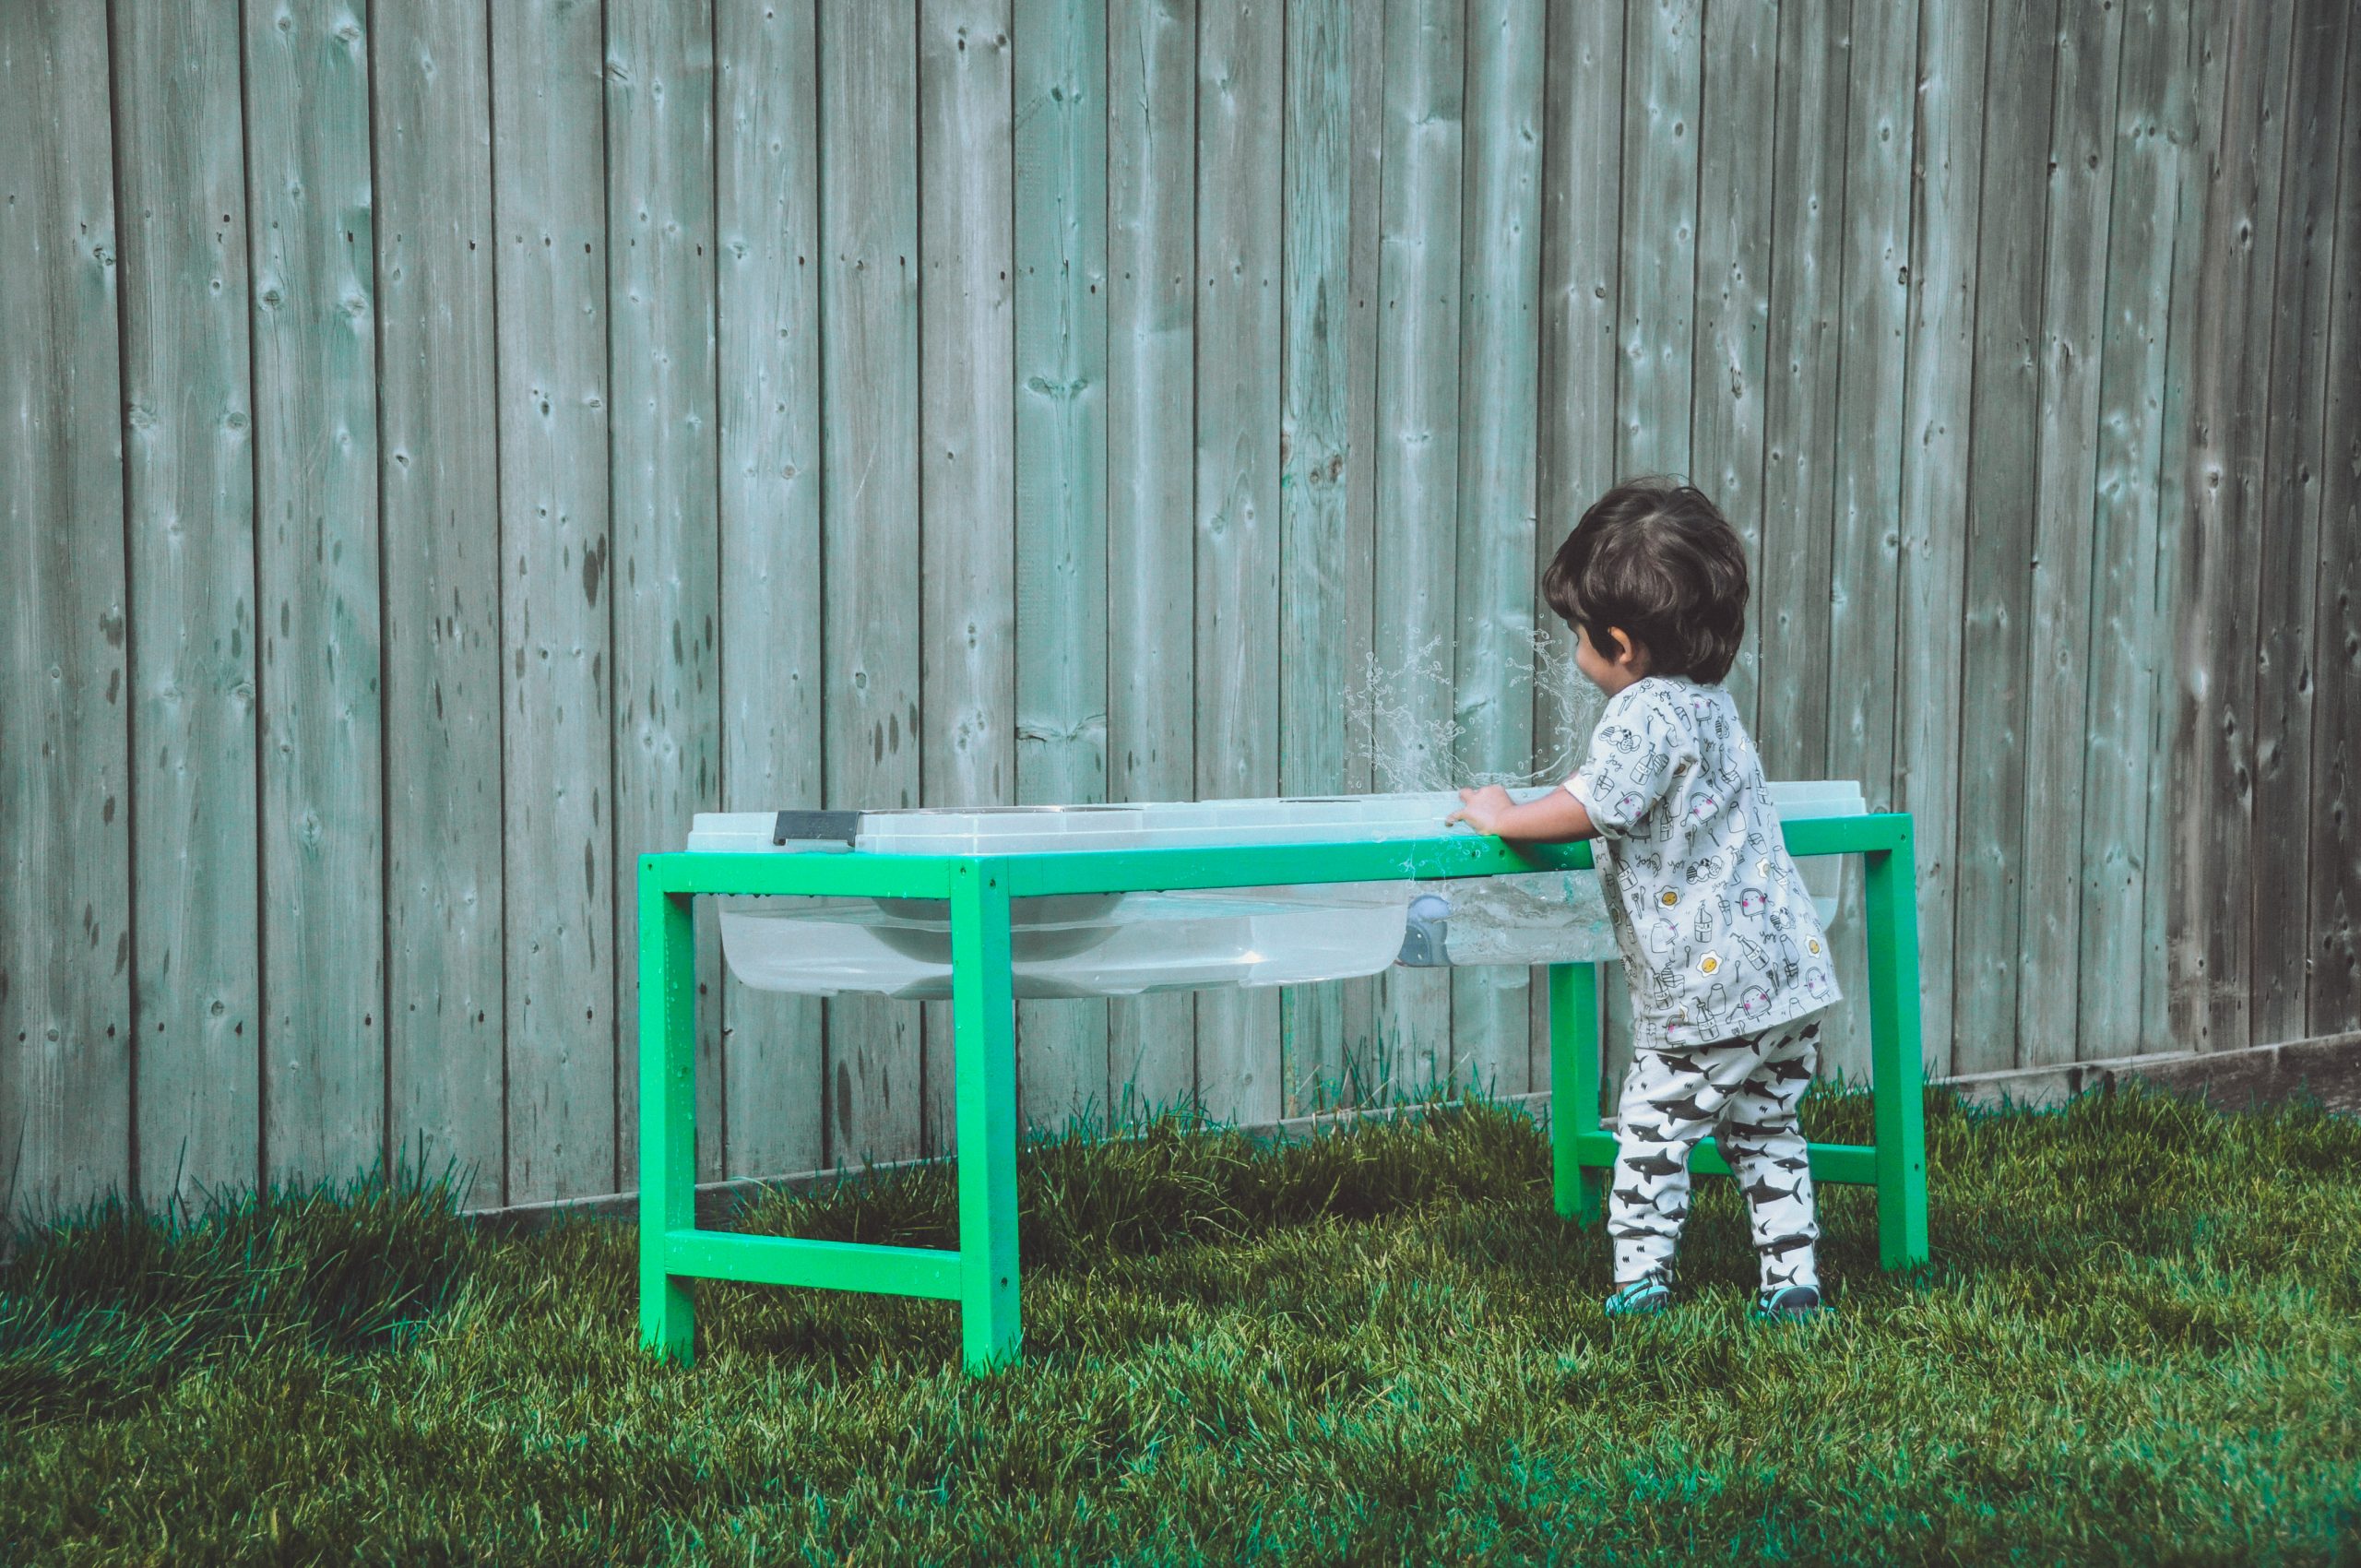
We are thrilled with the results. We spray-painted with a fun bright colour from Rustoleum HERE but still complimentary w/ the backyard (since it will be there all summer – I didn’t want an eyesore). Also to note, we picked a glossy finish so the water would repel.
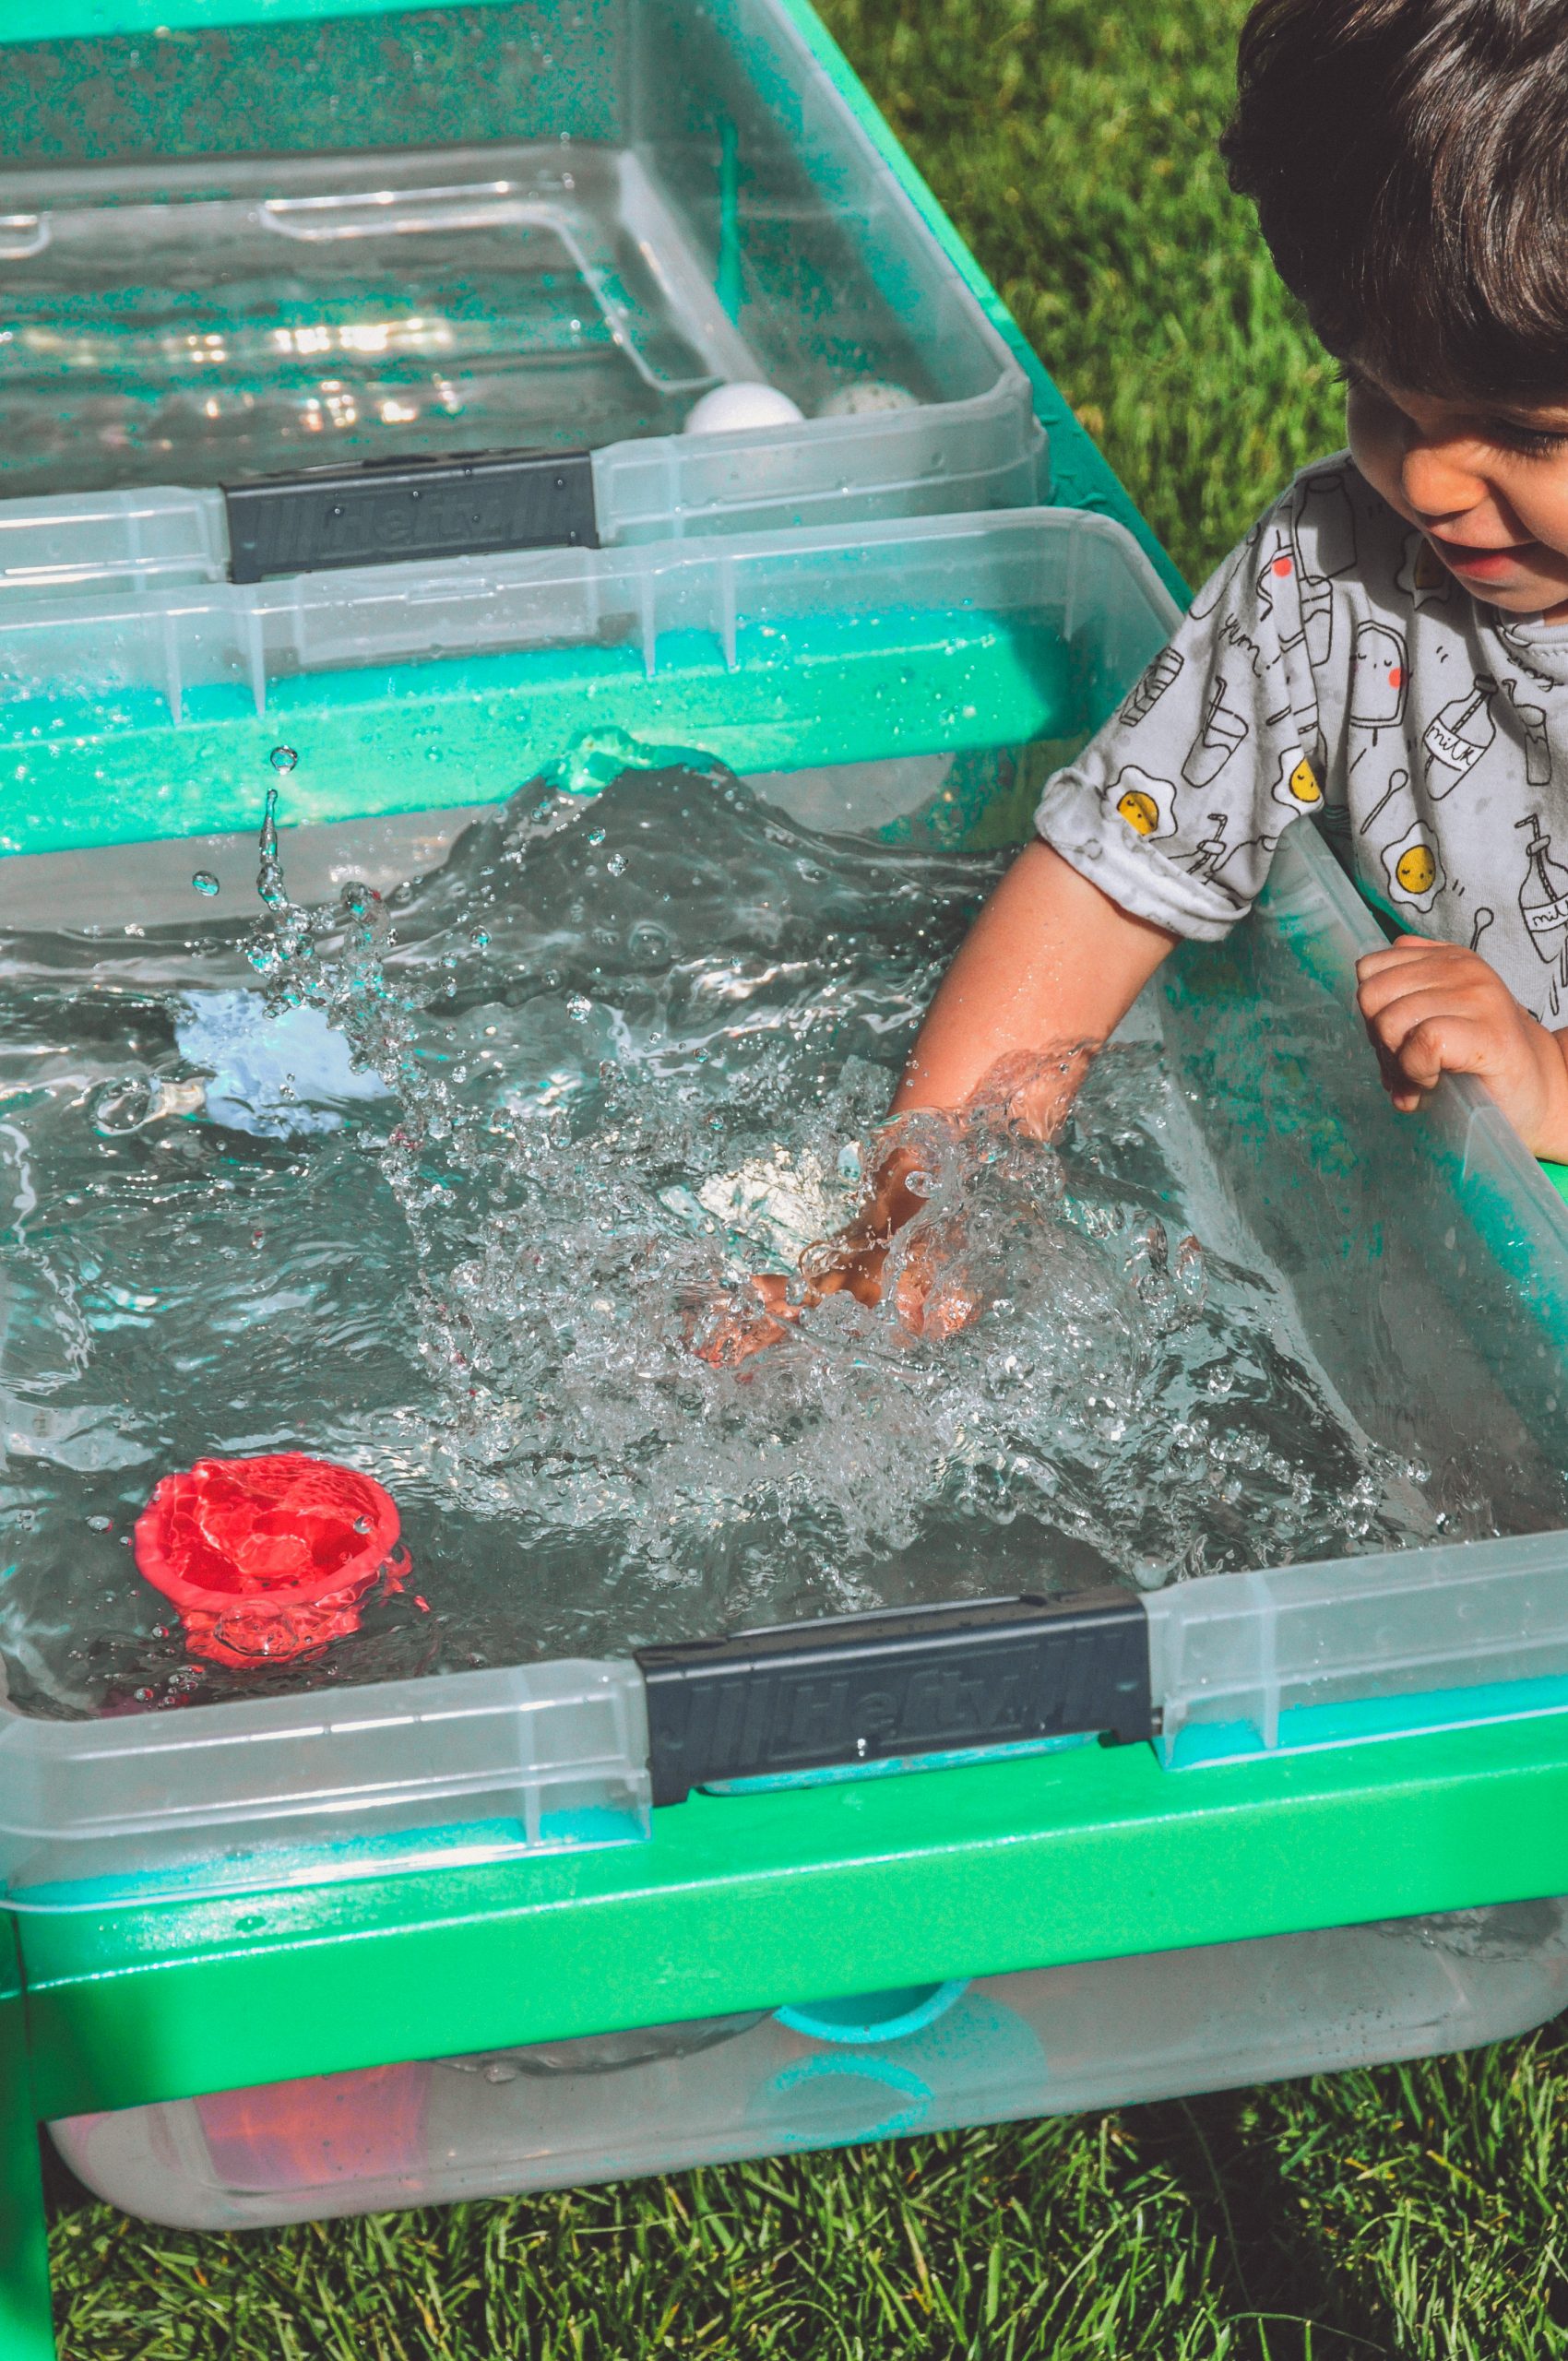
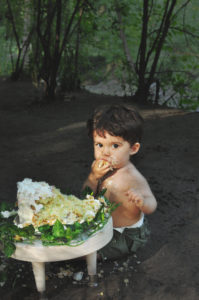
Watching Heston play and be occupied for hours is a win-win. So worth making it. Now that we’re home, what a great little project to do and keep yourself busy + accomplish something. 
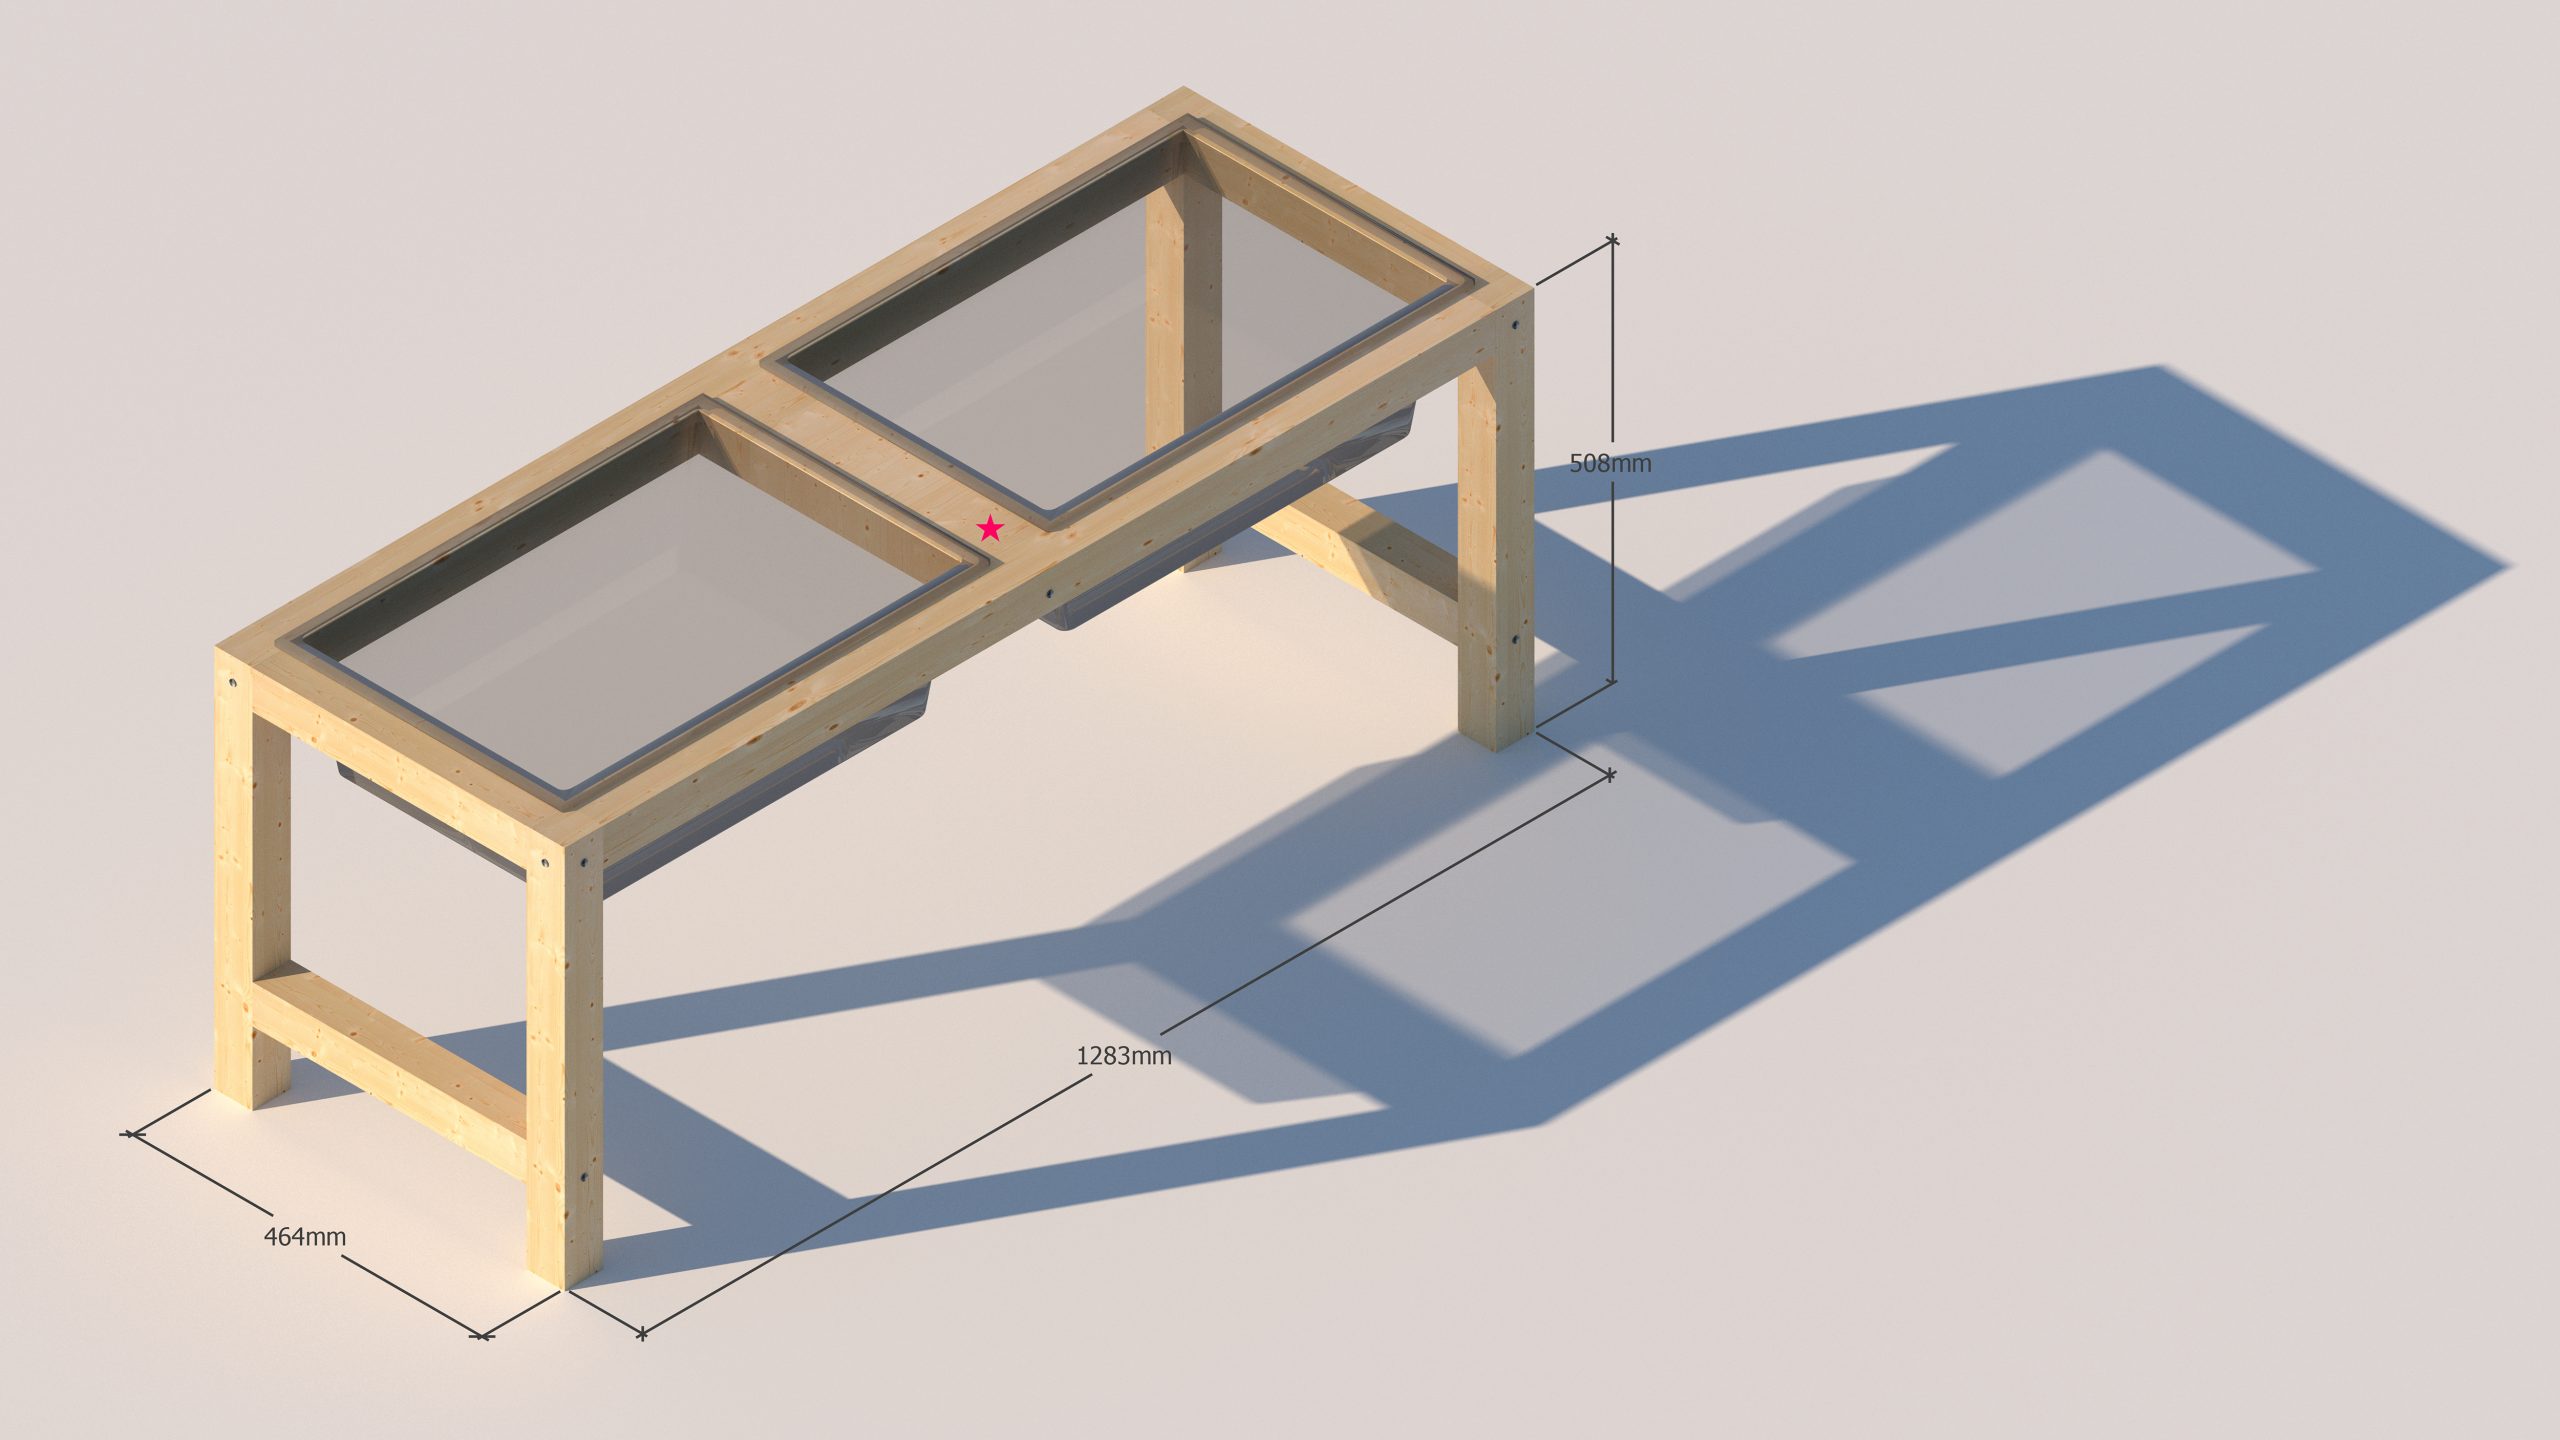
Doesn’t hurt financially either. Costs a 1/3 of what they’re selling online. 
 
Hope you guys create a fun version of this. If you do, make sure to tag me on Instagram! I’d love to see it
 
Close Menu